If you are working with plumbing pipes and fittings, you’ll eventually stumble upon the value and power of a pipe wrench.
What Is a Pipe Wrench?
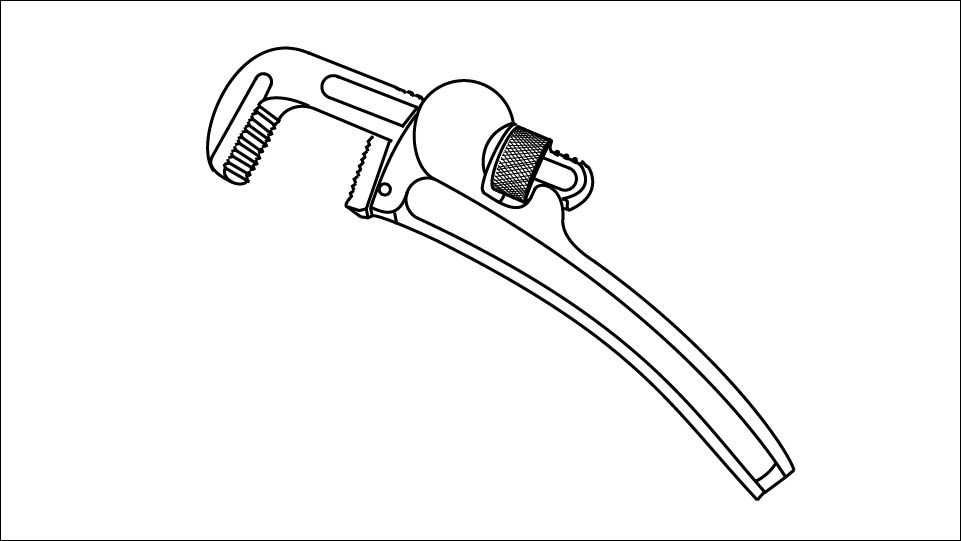
Before we dive in, let’s get friendly with this beast. A pipe wrench is a hand tool that grips round objects like pipes and fittings so you can twist ’em loose or tighten ’em up. With rugged teeth and an adjustable jaw, it’s a must-have for home plumbing, DIY projects, and pro jobs alike.
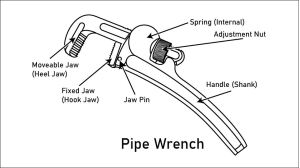
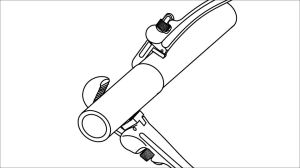
Although it looks simple, a pipe wrench actually has several parts: a fixed jaw, a moving jaw, a handle, and adjustment knob, a spring, and a jaw pin.
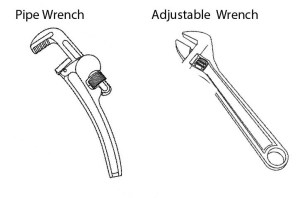
What is important for you and I to note is that the wrench appears backwards when compared to an Adjustable Wrench.
Step-by-Step: How to Use a Pipe Wrench
1. Pick the Right Pipe Wrench for the Job
Choosing the right size and style matters. If you’re dealing with large diameter pipes, you’ll want a wrench with a longer handle: longer handles = more leverage. If you’ll be working under the sink, you’ll be looking for a more compact wrench: smaller wrenches = better for tight spots.
This 3-piece set features all of the sizes you’ll need made in lightweight aluminum.
(As an Amazon associate, I earn on qualifying purchases)
2. Set Up the Wrench Correctly
Here’s the key: you want the teeth biting into the pipe so the wrench won’t slip.
- Open the wrench jaws wide enough to fit around the pipe.
- Slide it on so the fixed jaw sits on the side you’ll be pulling toward.
- Don’t cram it too tight — a little clearance (about half an inch) actually helps the grip. A little wobble here is a good thing.
Pro tip: If the wrench is slipping, flip it around — orientation matters!
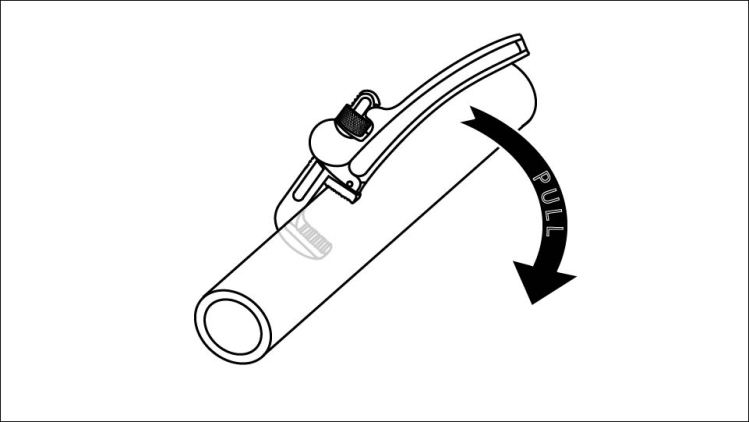
3. Grip & Leverage — Pull, Don’t Push
The magic of a pipe wrench is in the pull.
- Pull the handle toward you (don’t push) to tighten the wrench’s grip on the pipe.
- Apply steady, even pressure instead of jerky force. As you pull the handle, the movable jaw nestles into place – you’ll feel it.
- Need extra leverage? Use a longer wrench rather than a cheater bar — it’s safer and gets the job done. Your leverage comes from the length of the handle. A cheater bar will work, but it’s prone to slipping, and you have much less of a feel for what the wrench is doing.
4. Use Two Wrenches When Needed
If you’re working on threaded joints, where you want to hold onto one pipe and turn the other, use a second wrench.
The second wrench goes upside down compared to the first to hold onto the pipe you don’t want to turn.
This prevents twisting the pipe and damaging your work.
5. Avoid These Common Mistakes
Don’t hit your wrench with a hammer — that can damage the tool or your pipes. It may seem like a good jolt will break things loose, but the uncontrolled force of the hammer can cause serious chaos. Instead, reverse the wrench and tighten the pipe a little. That may cause it to loosen when you reverse the wrench again.
Don’t use your pipe wrench as a lever, lifting device, or bending tool — it’s meant for turning. It’s a good, hefty piece of metal, but it’s not a crowbar.
Ditch worn teeth — if the edges are rounded, the wrench won’t grip well. Get another wrench.
Care & Maintenance Tips
Keeping your pipe wrench in top shape means:
- Cleaning grit out of the teeth with a wire brush.
- Lubricating moving parts occasionally.
- Storing in a dry place to prevent rust.
Final Thoughts
Whether you’re a weekend warrior or a seasoned plumber, mastering the pipe wrench is an essential skill. With the right tool in hand and proper technique, you’ll be conquering corroded fittings and stubborn joints like a master.
Need a wrench that’ll make your toolbox sing? Start with the solid pick above — trusted, rugged, and ready to roll.
Related Posts
- The DIYer’s Toolbox
- How to Choose the Right Wrench
- How to Use an Adjustable Wrench
- How to DIY It Safely
DIY projects involve risk. Always follow manufacturer instructions and use appropriate safety precautions.
7019
©2026 SkippityWhistles.com All rights reserved
