
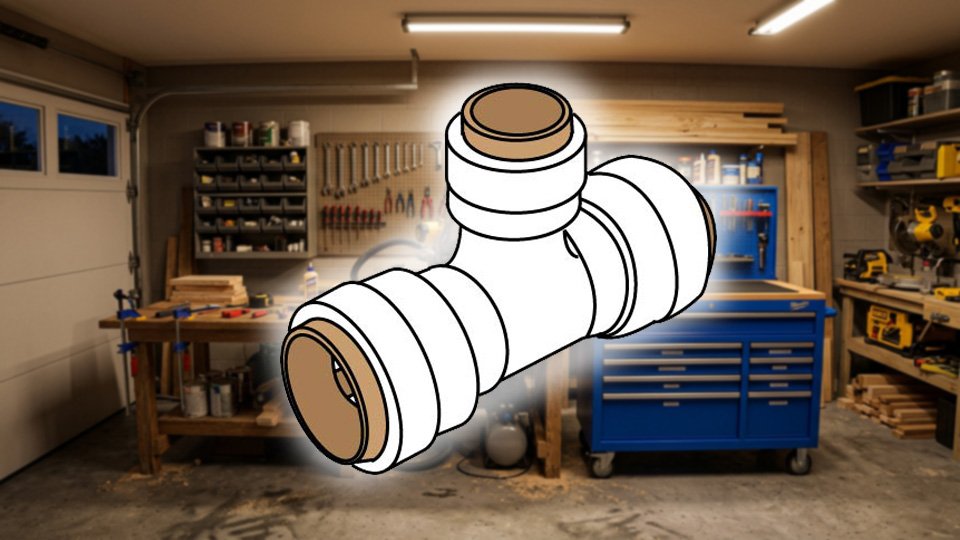
Ron cut a piece of copper tubing, looked at the slightly rough edge left behind, and decided it was close enough to smooth — deburring felt like a formality for a cut that already looked basically fine. It wasn’t fine. That rough edge sliced a thin nick into the fitting’s O-ring on the way in, and a slow drip started sometime overnight, discovered the next morning as a small, persistent puddle that silicone tape ended up saving the day on. The fitting hadn’t failed. The prep work had been skipped.
Push-fit fittings feel like they shouldn’t work — push a tube in, no solder, no threading, and somehow it holds. They’re not a gimmick. They’re genuine, code-approved engineering, and the entire mechanism depends on two things staying perfect: the teeth gripping the tube, and the O-ring sealing against it.
⚙️ The Core Mechanism
Inside every push-fit fitting sit small internal teeth, usually stainless steel, that grip a tube the instant it’s pushed in — functioning like a ratchet that only allows movement in one direction.
Right behind those teeth sits an O-ring (a rubber ring that compresses against the tube to create a watertight seal). Teeth grip, O-ring seals, water doesn’t leak.
That’s the entire mechanism — no solder, no threads, no special tools, and no soldering iron needed anywhere near it.
🧩 The Parts You’re Working With
- The fitting body, usually brass or reinforced plastic, holds the teeth and O-ring in a fixed internal chamber. A cheap body flexes or collapses under pressure, so name-brand fittings are worth the extra couple dollars over an unbranded equivalent.
- The gripping teeth do the actual holding, and they’re delicate enough that scratching them or dropping a fitting in dirt or gravel can compromise their bite.
- The O-ring only seals properly against a smooth, straight, correctly sized tube — which is exactly the detail Ron’s rough-cut edge got wrong.
🛠️ Using It Correctly, Step by Step
- Cut the tubing straight, using a pipe cutter or hacksaw — a crooked cut won’t seat evenly and undermines the whole connection from the start.
- Deburr the cut end (smooth the sharp edge left behind, with a deburring tool or even sandpaper) — this thirty-second step is the single most skipped, most important part of the entire process, since a sharp edge slices the O-ring on the way in exactly the way it did for Ron.
- Confirm the fitting size matches the tube exactly; push-fit fittings are size-specific, and a mismatch simply won’t seal.
- Push the tube in straight, aiming for the center of the opening rather than any angle — resistance partway in usually means it’s off-center, so back out and try again rather than forcing it.
- Push until it bottoms out completely; it’ll feel like it’s gone in further than expected, and that’s correct, not a sign to stop early.
- Tug the tube once seated — it shouldn’t move at all, and if it pulls free, that’s the connection telling you something went wrong before water ever touches it.
- Finally, run water through the connection and watch closely for drips, since some leaks only reveal themselves under real pressure.
🔓 Disconnecting Without Destroying It
The genuinely clever part: a disconnect tool (a small key-shaped tool, often included with quality fitting packages) lets a push-fit connection come apart cleanly and get reused.
Insert the tool into the fitting opening, push until it clicks past the gripping teeth, and pull the tube free — the fitting is then ready for a fresh tube, no cutting or waste involved.
🎯 Where They Excel, and Where They Don’t
Push-fit fittings are excellent for copper-to-copper, PEX-to-PEX, and copper-to-PEX connections, quick repairs, and situations where soldering nearby isn’t safe.
They’re not rated for underground burial — the connection needs to stay accessible for inspection, and manufacturers don’t rate the O-ring seal for constant ground moisture and freeze-thaw exposure over years. And they’re built for standard residential pressure, not high-pressure commercial applications.
🚫 The Mistakes Worth Avoiding
- Skipping the deburring step is the one that got Ron — a sharp cut edge damages the O-ring on the way in, and the leak that follows can take hours or days to show up.
- A crooked or angled cut prevents the tube from seating straight, letting water leak unevenly around the edges.
- Not pushing the tube all the way to the bottom leaves it under-seated and prone to pulling free under pressure.
- A mismatched size simply won’t create a proper seal at all.
- And creating a solder joint on a push-fit fitting anyway, just to feel extra safe, melts the plastic and destroys the O-ring — the fitting was never designed to be soldered, and doesn’t need to be.
🛒 Gear Worth Having
Push-Fit Coupling Multi-Pack (1/2-Inch) — The most common residential size, worth buying in bulk since a mid-project trip back to the store is the last thing anyone wants.
Tubing Deburring Tool — The exact thirty-second step that would have saved Ron his overnight puddle — smooths the cut edge before it ever meets an O-ring.
Push-Fit Disconnect Tool (Key-Style) — Takes a connection apart cleanly for reuse, instead of cutting the fitting off and starting over from scratch.
As an Amazon affiliate, I earn from qualifying purchases. Thank you for supporting SkippityWhistles.
📖 Related Reads
SkippityWhistles is part of the WhistleBump group – find the rest of the family at WhistleBump.com.
3023
©2026 John D Reinhart/Skippitywhistles.com — All rights reserved