
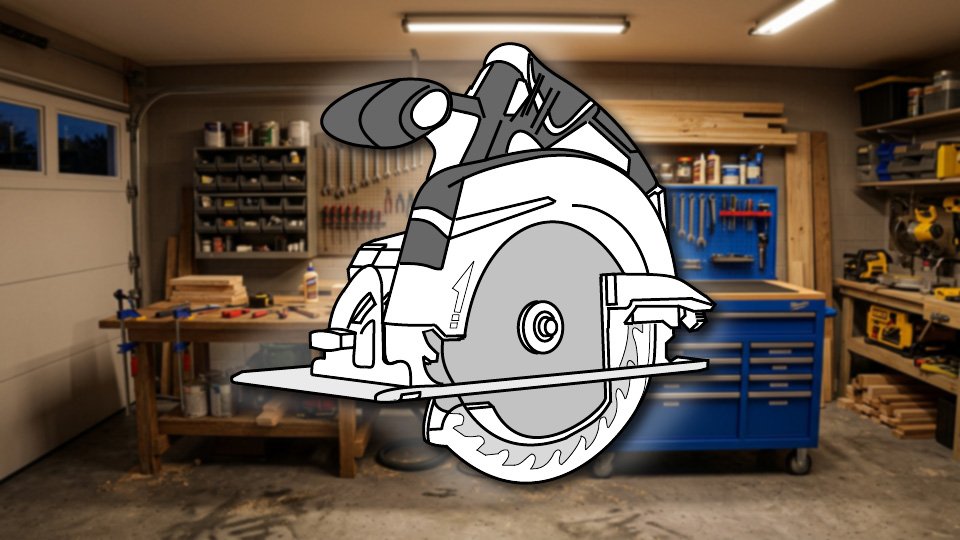
Ron had a sheet of plywood, a pencil line, and total confidence in his own hand-eye coordination, so he skipped the clamped guide and just eyeballed the cut freehand. The line wandered. Not dramatically — just enough that the two halves of that plywood sheet now have a very different opinion about where their edge actually is. Ron’s eye wasn’t the problem in some deep, personal sense. It’s just that everyone’s eye is bad at this, and a circular saw has zero interest in correcting for it on your behalf.
A circular saw is the workhorse of home DIY — handheld, aggressive, and genuinely one of the most useful tools in any garage. It’s also a spinning blade with real opinions about physics, and understanding those opinions is what separates a clean cut from a crooked one, or worse.
⚠️ The Core Principle
As the blade cuts, it generates real forces: it pulls itself forward into the cut, it pulls upward toward you, and if it binds on something, it can twist hard and fast in your hands. None of this is the saw malfunctioning — it’s just what a spinning blade under load does. Your job is two hands, a flat base, and steady guidance, directing those forces instead of fighting them.
🔩 The Parts You’re Holding
The blade determines the quality of the cut more than anything else —
- a crosscut blade with many teeth cuts cleanly across the grain
- a rip blade with fewer teeth cuts fast along the grain
- a combination blade splits the difference
- and a fine-tooth plywood blade minimizes tear-out on finished sheets.
The base is the flat plate riding on the material; keep it flat, since a tilted base means a tilted cut every time.
The depth adjustment should be set so the blade barely clears the material’s underside — deeper isn’t safer, it’s just more exposed blade with nothing gained.
The guards, one fixed above the blade and one spring-loaded below, exist specifically to keep your hand away from a spinning edge — they don’t get removed, tied back, or “worked around.” Ever. Got that?
🛠️ Using It Safely, Step by Step
- Mark your cut line clearly and double-check it against a square or tape measure before committing — a wrong cut ruins material either way, guide or no guide.
- Clamp the material so it can’t shift, and make sure whatever the blade extends below isn’t something you meant to keep.
- Stand to the side of the saw, never directly behind it, so a bind sends the saw away from your body rather than toward it.
- Grip with both hands — one on the main handle, one supporting the front — firmly but without white-knuckling it.
- Let the blade reach full speed before it touches the material; starting already engaged is one of the fastest ways to bind and tear the cut.
- Guide the saw forward smoothly once it’s cutting, letting the blade do the work rather than pressing hard.
- Keep the base flat the entire way through, follow all the way to the end of the material without stopping partway, and let the blade coast to a stop naturally once you’re clear.
📐 Straight Cuts: The Secret Ron Skipped
Circular saws are not naturally good at straight lines — they’re only as straight as whatever’s guiding them. A clamped straight edge (a 2×4 or a dedicated guide clamped along the cut line) is the reliable, repeatable way to get a genuinely straight cut, and it’s what separates a clean edge from Ron’s now-two-different-opinions plywood sheet.
A rip fence attachment works reasonably for simple parallel cuts.
Freehanding it, trusting your eye alone, works fine for people with genuinely exceptional depth perception and steady hands — and produces a wandering line for basically everyone else.
✂️ Ripping vs. Crosscutting
Crosscutting means cutting across the grain, and it calls for a crosscut blade and a straight path across the board.
Ripping means cutting along the grain, lengthwise down a board’s full length, and a guide here isn’t optional — without one, the cut wanders over distance in a way that’s hard to correct once it starts.
For long rip cuts specifically, a table saw handles the job more reliably; a circular saw can do it, but only with real guide discipline.
🚫 The Mistakes Worth Avoiding
- Skipping the clamp lets material shift mid-cut and ruins the line.
- Starting the blade already inside the material invites an immediate bind.
- Pressing hard doesn’t cut faster, it just increases the odds of binding.
- Letting the base tilt turns a square cut into a bevel nobody asked for.
- Stopping partway through a cut is exactly how a blade binds in the kerf — the narrow slot the blade cuts as it passes through, which can pinch shut on the blade the moment the cut stops.
- Reaching anywhere near the blade, guard or no guard, is never worth whatever convenience it seems to offer.
- And removing or defeating the guards trades a genuine safety feature for nothing at all.
🛒 Gear Worth Having
Cordless Circular Saw — Reliable, mobile power for plywood, lumber, and trim — the actual workhorse most home shops reach for first.
Straight Edge Guide Clamp — The tool that would have saved Ron’s plywood — clamps to the material and keeps the blade honest along a real straight line.
Circular Saw Blade Assortment (Crosscut, Rip, Combination) — Matches the blade to the cut instead of asking one blade to do every job adequately and none of them well.
As an Amazon affiliate, I earn from qualifying purchases. Thank you for supporting SkippityWhistles.
📖 Related Reads
SkippityWhistles is part of the WhistleBump group – find the rest of the family at WhistleBump.com.
7055
©2026 John D Reinhart/Skippitywhistles.com — All rights reserved