
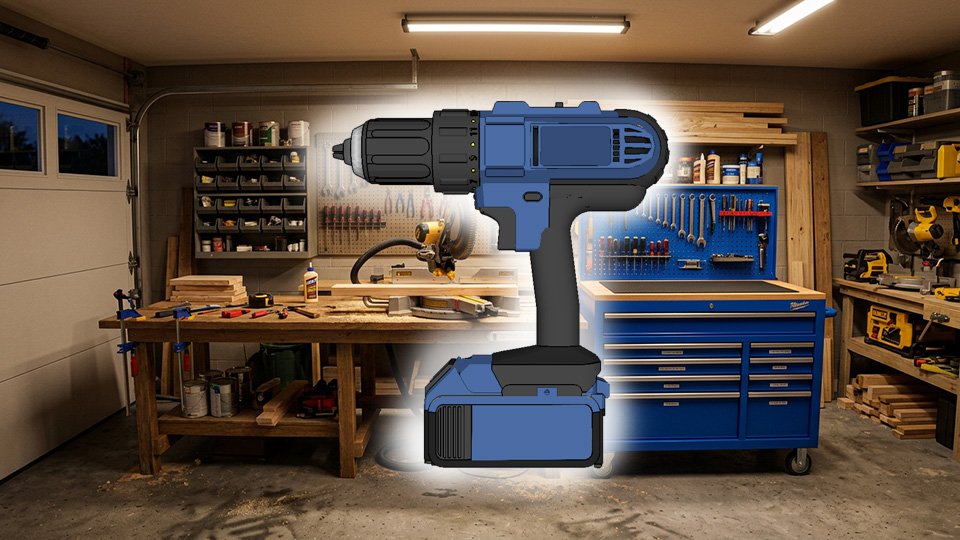
Ron Screwstrip bought his first power drill on a Tuesday. By Wednesday he had stripped three screw heads, cracked a piece of pine he was particularly fond of, and drilled a pilot hole at an angle that could only be described as “optimistic.” By Thursday he had read the manual.
This post is the manual, translated into English.
A power drill is the first real tool most people buy — and the one they use forever. The difference between a drill that fights you and a drill that works is almost never the drill itself. It’s knowing what the three controls actually do before you squeeze the trigger.
🔧 The Three Controls You Need to Understand
Most beginners find the trigger and the direction switch and call it a day. The third control — the torque clutch — is the one that prevents stripped screws, cracked wood, and the particular frustration of a screw that goes in sideways.
The torque clutch is the numbered ring around the chuck. It controls how much rotational force the drill applies before it clicks and stops. A low number means the drill stops driving early — gentle, precise, for small screws and soft materials. A high number means more force before it stops — for longer screws, harder materials, and situations where you need the screw firmly seated.
If the drill clicks and stops before the screw is flush, increase the torque setting. If the screw is going in crooked or stripping, lower the torque and slow down. Most jobs land somewhere in the middle of the numbered range.
The gear selector (usually marked 1/2 or L/H) controls speed. Low gear is for driving screws — more torque, more control, less likely to strip. High gear is for drilling holes — faster rotation, less torque. Switch between them based on what the drill is doing, not what feels faster.
The direction switch controls forward and reverse. Forward for driving and drilling. Reverse for backing out stuck screws or extracting a bit that’s bound up in the material. Find it before you need it — the moment a bit jams is a bad time to go looking.
📐 Bit Basics: What Goes In and Why
Drill bits make holes. Driver bits drive screws. They are not interchangeable, and the reason most screws get stripped is a driver bit that doesn’t fit the screw head properly.
For screws: the bit should fit snugly into the screw head with no wobble. A loose fit is how you round off a Phillips head in three seconds flat. If the bit skips and chatters when you apply pressure, it doesn’t match the screw — find the right bit before you drive it, not after.
For pilot holes: use a drill bit slightly smaller than the screw’s shaft. The pilot hole gives the screw a path to follow so it doesn’t split the wood or wander. For hardwood, drywall, or anything where you’re driving near an edge, pilot holes are not optional.
Insert the bit fully into the chuck — centered between the jaws — and tighten until firm. A bit that wobbles in the chuck will wobble in the material. Tighten more.
✅ How to Actually Use It
Hold the drill straight. This is the instruction most people acknowledge and then ignore. A drill that tilts off-axis drives the screw at an angle, which means the screw head ends up proud (sticking above) of the surface, which means you’re backing it out and starting over. Some drills have a small bubble level in the body — use it.
Squeeze the trigger gently and let the tool build speed before applying pressure to the material. Don’t push — the weight of the drill provides enough force for most jobs. Forcing it is how bits snap and screws strip.
For drilling holes: back the bit out occasionally to clear debris. For longer holes, do this every inch or so. A clogged flute (the channels in the drill bit ) is the reason holes burn instead of cut.
For driving screws: stop when the clutch clicks or when the screw head is flush with the surface — whichever comes first. Going past flush means going into the material, which weakens the hold and looks wrong. Once is usually enough to learn this lesson.
⚠️ Safety Basics
Eye protection, every time. Drill bits generate chips and the occasional fragment that travels faster than you’d like. Safety glasses cost less than an eye.
Secure the workpiece with clamps whenever possible. A board that shifts mid-drill shifts the hole location with it. Clamps are cheaper than restarting.
Remove the battery when changing bits. The trigger is easy to bump accidentally when your other hand is inside the chuck. Remove the battery first. Do it every time until it’s a habit.
If a bit jams, reverse direction and back it out gently. Don’t force a jammed bit forward. The bit is cheaper than the wrist.
🛒 Gear Worth Having
DEWALT 20V MAX Cordless Drill Driver Set (DCD771C2) — Two batteries, charger, contractor bag. The benchmark for beginner to intermediate home DIY. Consistent power, reliable clutch, built to last a decade of weekend projects.
RYOBI ONE+ 18V Cordless 1/2 in. Drill/Driver Kit (PCL206K1) — The honest entry-level pick. Compatible with the entire RYOBI ONE+ battery ecosystem, which matters when you eventually add a circular saw or reciprocating saw. Solid performance for the price.
AVID POWER 20V Cordless Drill Set — Battery, charger, and 22 bits included. The budget option that doesn’t feel like one. Good torque range, solid chuck, comfortable grip. The right first drill for someone who isn’t sure yet how much they’ll use it.
As an Amazon affiliate, I earn from qualifying purchases. Thank you for supporting SkippityWhistles.
📖 Related Reads
Ron Screwstrip now reads the manual first. His pilot holes are straight. His screws sit flush. He still occasionally drives one in at an angle, but he no longer blames the drill.
SkippityWhistles is part of the WhistleBump group – find the rest of the family at WhistleBump.com.
7002
©2026 John D Reinhart/Skippitywhistles.com — All rights reserved