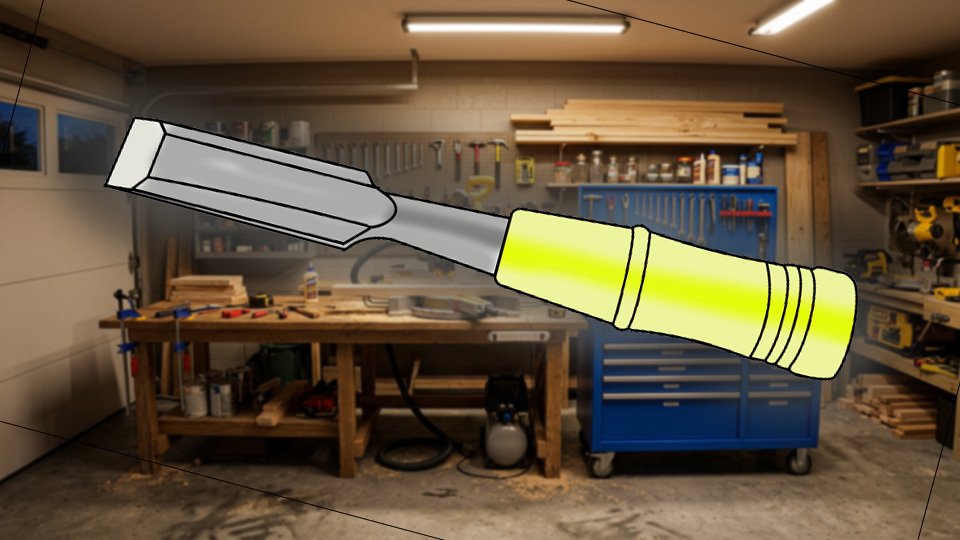
How to Choose the Right Wrench (Or: The One-Wrench Theory, Debunked)

Five wrench types, five different jobs — grab the wrong one and watch a perfectly good bolt round off in seconds.

Ron had a theory, and the theory was this: a good adjustable wrench should be able to handle basically anything, because it adjusts, which is right there in the name.

He tested this theory extensively on nuts, bolts, and a pipe fitting that ended the experiment early by simply refusing to grip at all. A few rounded corners and one memorably stuck fitting later, Ron discovered what actual machine shops figured out a long time ago — different fasteners genuinely need different wrenches, and no amount of adjusting closes that gap.

A wrench isn’t one tool wearing different sizes. It’s a small family of tools, each solving a specific gripping problem, and matching the right one to the job is most of the actual skill.

🔧 Adjustable Wrench: The Generalist
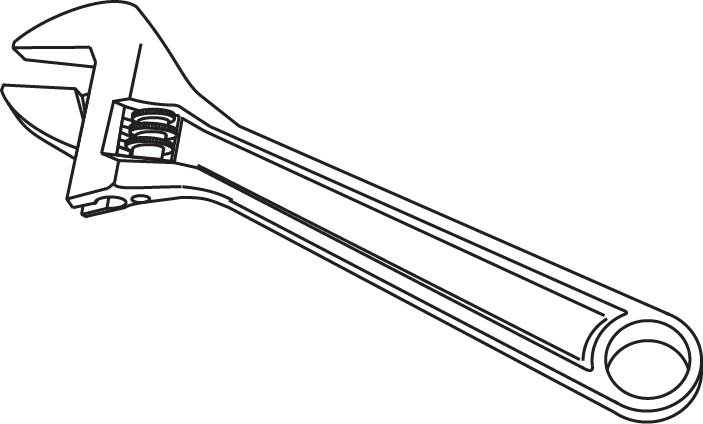
A three-point illustration of an adjustable wrench.

Also called a crescent wrench, this is the tool for when you don’t know the exact size or need one wrench to cover several. It’s flexible and convenient, but less precise than a fixed-size tool — a real solution for light-to-medium DIY work and odd sizes, not the do-everything champion Ron initially hoped for. The full technique gets its own dedicated post below.

🔧 Pipe Wrench: Round Surfaces Only
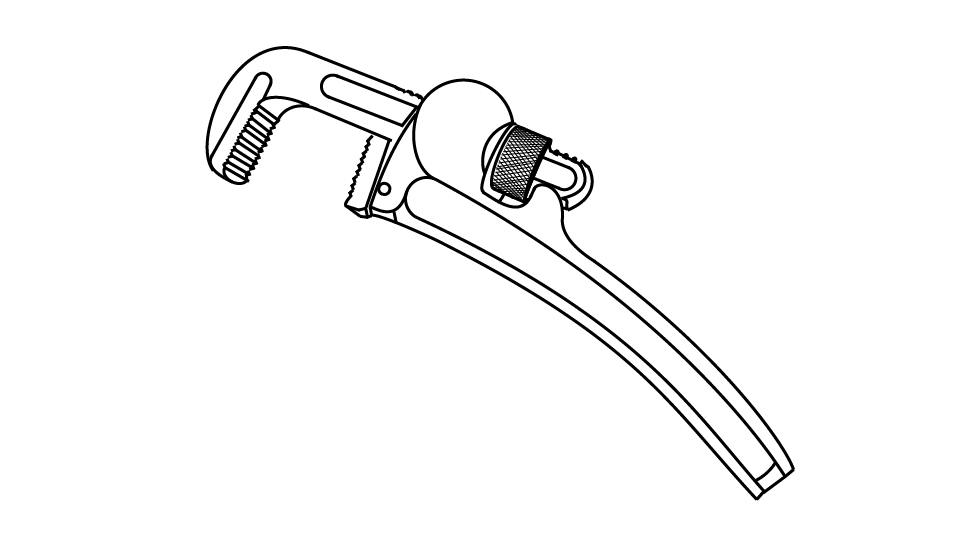
Three-point line illustration of a pipe wrench

Serrated jaws that bite harder into round pipe the more force you apply — genuinely excellent on plumbing, genuinely terrible on nuts and bolts, since those teeth will mar any finished surface they touch. This is the fitting that ended Ron’s one-wrench experiment early. Full mechanism and technique covered in its own dedicated post as well.

🔧 Socket Wrench: Speed and Torque
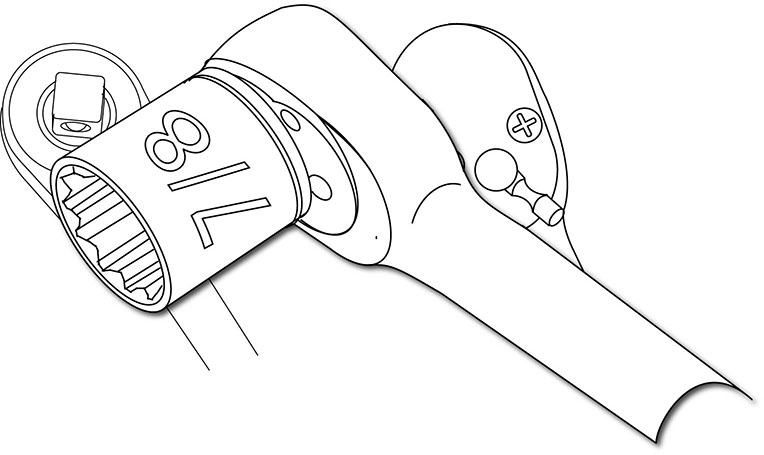
Line drawing of a trio of socket wrenches

Interchangeable sockets paired with a ratcheting handle mean fast, repeated turning without repositioning your grip after every twist — the standard choice for automotive work, enclosed spaces, and anything demanding real torque. Selecting the right socket size matters here just as much as picking the right wrench type in the first place.

🔧 Spanners: Precision Over Range

A line drawing of an open-end wrench, a box-end wrench, and a combination wrench.

Open-end, box-end, and combination wrenches — collectively called spanners — trade an adjustable wrench’s flexibility for a fixed size that fits one fastener precisely and doesn’t slip. For anything metal and precision-fastened, this fixed fit beats an adjustable wrench’s approximate one every time.

🎯 Torque Wrench: When “Tight” Needs an Actual Number
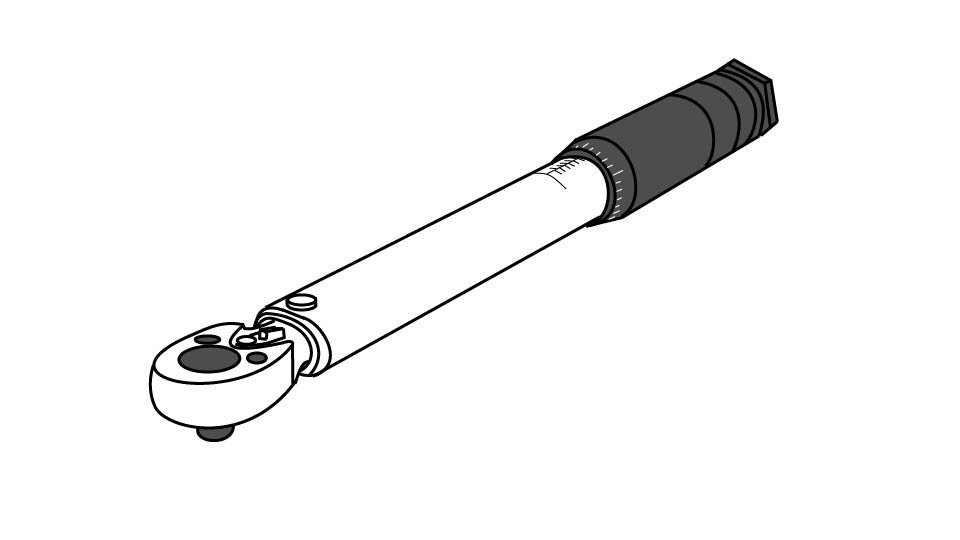
A line drawing of a standard, click-style torque wrench by John D Reinhart

Most fasteners just need to be snug. Some — engine components, structural bolts, anything with a manufacturer-specified torque value — need to be tightened to an exact number, not a feeling. A torque wrench measures and stops at that number, which is the entire reason it exists as its own category rather than just being a stronger regular wrench.

📏 Matching Size Exactly Is the Whole Game

A wrench that’s even slightly loose on a fastener rounds the corners with every turn, and once a fastener’s corners are rounded, no wrench grips it cleanly again — that’s genuinely how fasteners go from “annoying” to “now I need an extraction tool.” Precision here isn’t fussiness. It’s the difference between a bolt that comes loose in two seconds and one that becomes its own separate project.

🛡️ Safety Basics

  • Pull the wrench toward you rather than pushing whenever the setup allows — a slip while pulling tends to miss your knuckles, while a slip while pushing tends to find them directly.
  • Wear eye protection on stubborn fasteners, since something eventually lets go all at once.
  • And skip the cheater bar — extending a wrench handle with a length of pipe generates enough leverage to bend the tool or over-torque the fastener, neither of which ends the job any faster.

🛒 Gear Worth Having

CRESCENT 10-Inch Adjustable Wrench — The reliable everyday generalist — genuinely useful, just not the universal answer Ron originally hoped for.

DEWALT Mechanics Tool Set with Ratcheting Sockets — Fast, precise turning across a full range of sizes, without repositioning your grip after every twist.

TEKTON Combination Wrench Set, SAE and Metric — Fixed sizing that fits precisely instead of approximately, covering both measurement systems most households eventually run into.

As an Amazon affiliate, I earn from qualifying purchases. Thank you for supporting SkippityWhistles.

📖 Related Reads


SkippityWhistles is part of the John D Reinhart content family. Writer, illustrator, videographer, and accidental filmmaker — find the whole story at JohnDReinhart.com.

7013

©2026 John D Reinhartskippitywhistles.com/ — All rights reserved

How to Use a Chisel (Or: Let the Wood Do Some of the Work)

Shape, carve, and craft like a pro! Learn how to use a chisel safely and effectively for any DIY or woodworking project.

Ron grabbed the closest hammer to drive his chisel through a stubborn knot, because, well, a hammer is a hammer, and force is force, right? The metal hammer head chipped a small crescent out of the chisel’s wooden handle on the very first strike. Nice going, Ron.

A chisel looks like a simple wedge on a stick because that’s exactly what it is. The skill isn’t really in the tool — it’s in a few decisions you make before the blade ever touches the wood.

🪓 What’s Actually Happening When You Cut

A chisel’s blade is ground into a wedge shape. One side is flat. The other side is angled, and that angled side is called the bevel.

The wedge doesn’t just cut wood. It splits it, along whatever line you position the blade on. That’s why direction matters so much more with a chisel than it does with, say, a saw.

✋ Two Techniques: Hand Pressure and Mallet

For light work — shaving off a high spot, fine shaping, careful trimming — use hand pressure alone. Grip the handle with one hand. Rest your other forefinger on top of the blade, just behind the cutting edge. Push slowly and let that front hand guide the blade’s path.

For deeper cuts, use a mallet instead. Hold the chisel upright with one hand. Hold the mallet in your other, dominant hand. Tap the handle — don’t swing at it. Let the tool do the cutting instead of trying to force it through in one blow.

Never substitute a metal hammer for a mallet. A chisel handle is shaped to absorb a mallet’s softer strike, not a hammer’s hard one, and a hammer will chip or split it.

🎯 Bevel Direction: The One Decision That Changes Everything

Before every cut, you’re choosing which way the bevel faces. That one choice determines what happens next.

Face the bevel away from the waste — the part of the wood you’re cutting off — when you want a clean, straight line. The flat side does the cutting in this position, and it tracks straight.

Face the bevel into the waste when you want to remove material with more control over depth. The angled side rides up and out as you push, lifting waste away instead of digging straight down.

Get this backwards and the cut still happens. It just doesn’t happen the way you meant it to and you start using words that could embarrass your parents.

🌾 Reading the Grain Before You Cut

Wood fibers all run in one direction — that’s the grain. A chisel moving with the grain lifts wood cleanly. A chisel moving against the grain fights the fibers, takes more force, and tends to tear or splinter instead of cutting.

Watch the wood as you make your first light cut. If it lifts smoothly, you’re working with the grain. Keep going.

If it tears, catches, or feels like it’s fighting back, stop. Turn around and cut from the opposite direction instead.

🔪 Why a Sharp Chisel Matters More Than a Strong Arm

A dull chisel doesn’t cut cleanly no matter how hard you push it. It crushes and tears wood fibers instead of slicing them, which is both a worse result and a real safety risk — a dull edge slips sideways more easily than a sharp one bites in.

Sharpen the chisel before starting any real project, and again the moment it stops slicing cleanly through a light test cut. A basic sharpening stone handles this in a few minutes and works on kitchen knives and hatchets too, so it’s not a single-purpose expense.

🚫 The Mistakes Worth Avoiding

  • Using a metal hammer instead of a mallet.
  • Twisting the blade mid-cut instead of pulling straight back and repositioning.
  • Skipping sharpening until the chisel is genuinely struggling.
  • Trying to remove too much material in one pass instead of working in light, controlled cuts.
  • And cutting toward your own body or hand instead of always working away from yourself.

🛒 Gear Worth Having

Bevel-Edge Wood Chisel Set — A range of widths in one set, so the right size is on hand instead of forcing one chisel to do every job.

Wooden Woodworking Mallet — Built specifically to strike a chisel handle without chipping it — the actual right tool, not a stand-in hammer.

Combination Sharpening Stone — Medium and fine grit in one stone, enough to keep a chisel edge — and most other blades in the house — genuinely sharp.

As an Amazon affiliate, I earn from qualifying purchases. Thank you for supporting SkippityWhistles.

📖 Related Reads


SkippityWhistles is part of the John D Reinhart content family. Writer, illustrator, videographer, and accidental filmmaker — find the whole story at JohnDReinhart.com.

7016

©2026 John D Reinhartskippitywhistles.com/ — All rights reserved