How to Choose and Use Pliers (Or: The Tool That Does More Than You Think)

Most drawers have one mystery pair of pliers doing every job badly. Here’s what the different types actually do, and which one to reach for.

Ron owns exactly one pair of pliers, and he genuinely doesn’t know what kind they are. He’s used them to grip, to twist, and once, memorably, to cut a wire — which mostly just crushed the wire flat and left him bending it back and forth until it snapped on its own. The pliers weren’t broken. They just weren’t built for cutting, and nothing about how they looked told Ron that.

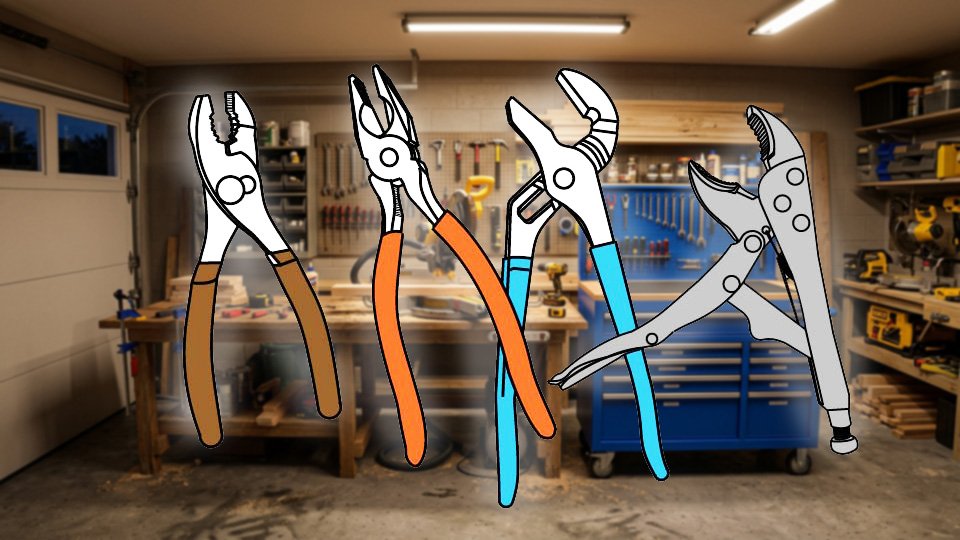
Pliers aren’t one tool. They’re a small family of tools that all look vaguely similar and do genuinely different jobs. Knowing which one you’re holding — and which one a task actually calls for — is most of the battle.

🤏 Slip-Joint Pliers: The Everyday Starter

a Line drawing of slip-joint pliers by John D Reinhart

A slip-joint pliers (the classic pliers shape, with a pivot point that slides to widen or narrow the jaw opening) is the one pair most households already own without necessarily knowing its name.

That adjustable pivot is the whole trick — narrow it for small objects, widen it for bigger ones, all from one tool. It handles general gripping, holding, light bending, and gentle nail-pulling well, and covers a genuinely large share of everyday DIY tasks. It’s not built for cutting wire cleanly or gripping something round and stubborn — those jobs belong to other pliers on this list.

✂️ Linesman Pliers: Built to Cut and Twist Wire
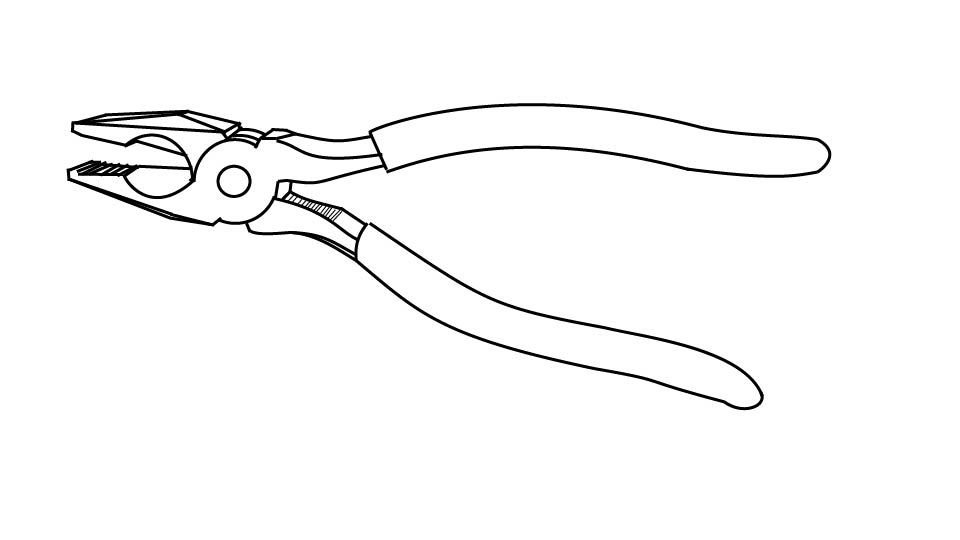
A line drawing of linesman pliers by John D Reinhart

A linesman pliers (a heavier-duty pliers with a built-in wire cutter machined right into the jaws) exists specifically for the job slip-joint pliers can’t do well.

The cutting edge bites through wire cleanly instead of crushing it flat, and the shorter, thicker handles give real leverage and control. Electricians reach for these constantly, for exactly that reason.

Always confirm power is off before using any pliers on an electrical task — that rule doesn’t bend for a “small” job.

🔩 Channel-Lock Pliers: Wide Grip for Plumbing and Big Fasteners

A line drawing of channel-lock-style pliers by John D Reinhart

A channel-lock pliers, also called groove-joint pliers (a wider, heavier pliers whose pivot slides along a grooved channel for a much larger adjustment range than slip-joint), opens far wider than a slip-joint pair ever can.

That extra range is what lets it grip pipes, large nuts, and irregular shapes that a slip-joint pliers simply can’t reach around. Adjust the jaw to the object before gripping — a loose fit here either damages the fastener or lets the tool slip under load.

🔒 Locking Pliers: Hands-Free Holding
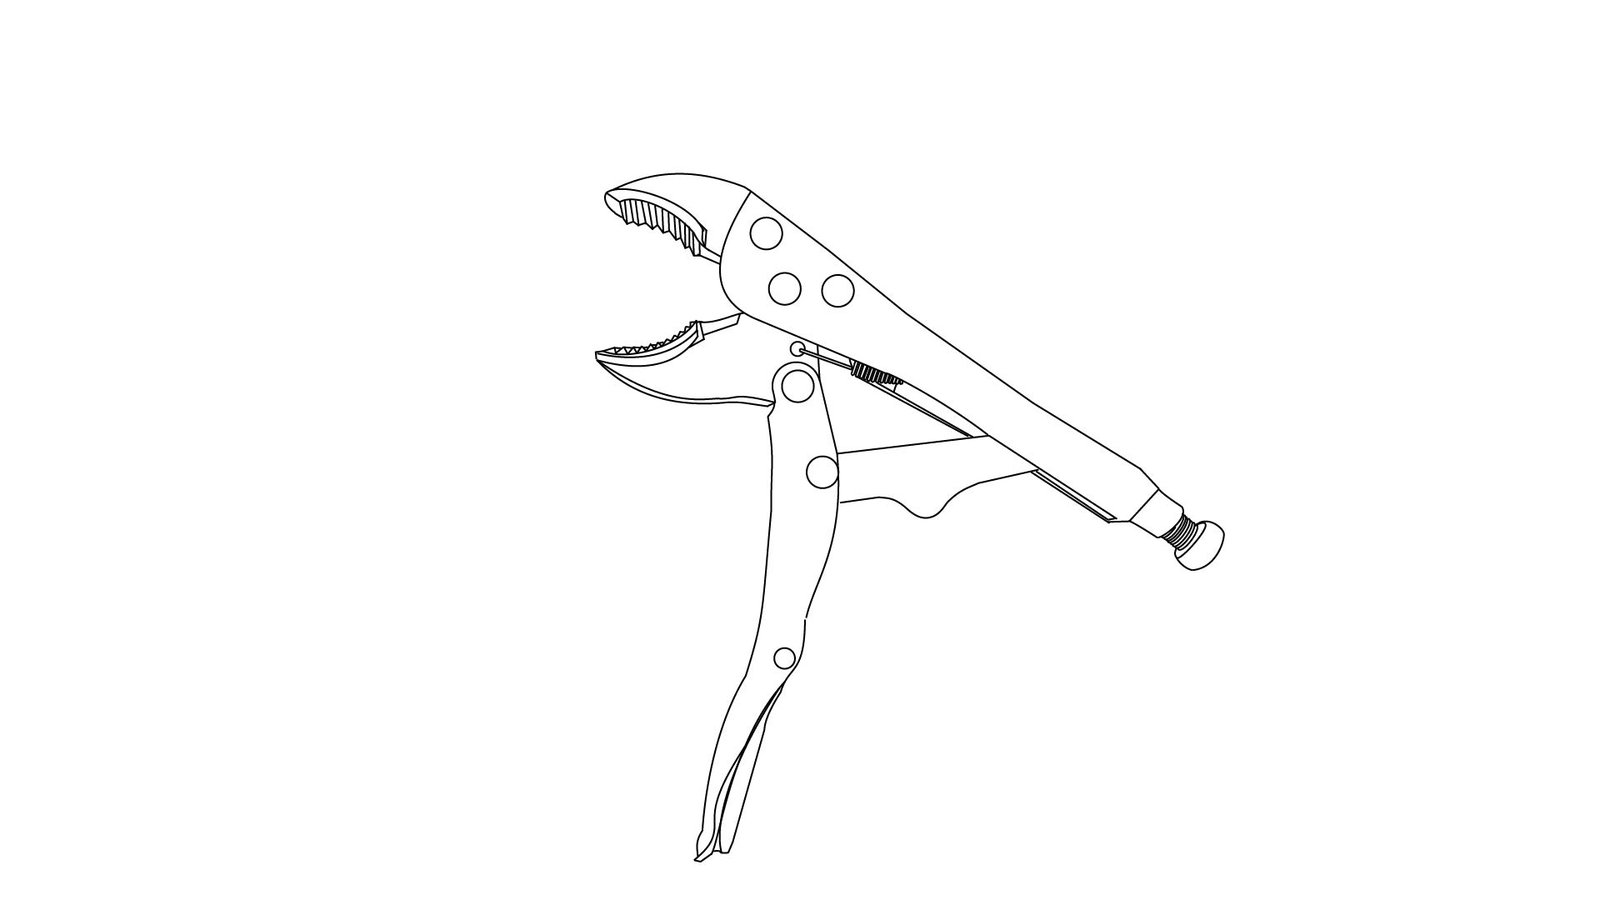
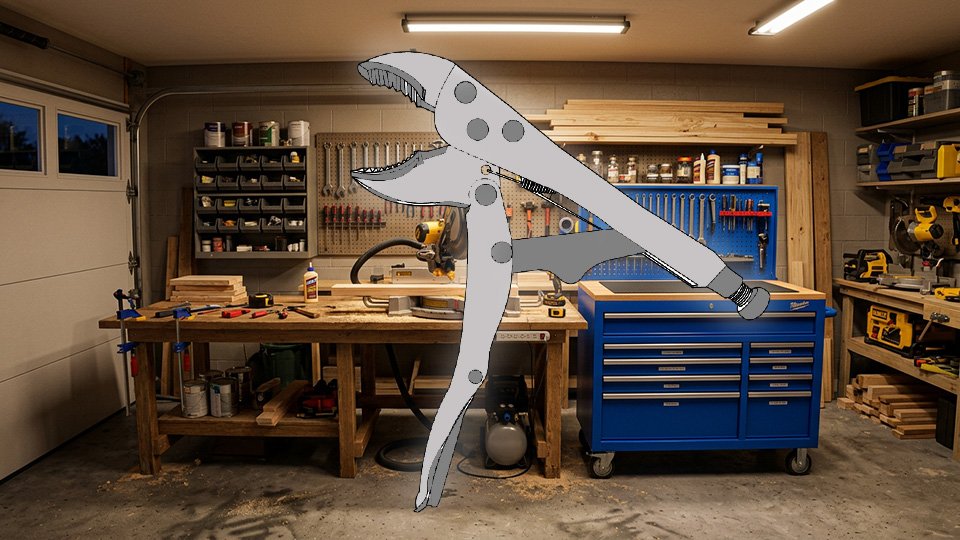
A line drawing of an open pair of locking pliers by John D Reinhart

A locking pliers, often called vise-grips (a pliers with a toggle mechanism that locks the jaws clamped shut without needing continuous hand pressure), solves a problem none of the others do — staying clamped on its own once locked, freeing both hands for the actual work.

The full mechanism, adjustment, and release technique gets a complete walkthrough in the dedicated locking pliers post, since that’s genuinely a different skill worth its own space rather than a paragraph here.

🧰 The Rest of the Family, Briefly

  • A needle-nose pliers reaches into tight spaces and handles small, precise objects a standard jaw can’t get near.
  • A diagonal cutting pliers, sometimes called dikes, gives a cleaner wire cut than a linesman pliers can manage in certain spots.
  • Specialty pliers — crimping, adjustable, and beyond — exist for specific jobs you’ll recognize the moment you actually need them.

None of these are worth buying ahead of a project that calls for them specifically.

🛡️ Safety Basics

Wear safety glasses whenever cutting or twisting — flying bits of wire and metal are a real risk. Match the pliers to the job; forcing a slip-joint pair to turn a bolt built for channel-locks usually damages the tool, the fastener, or both. Never grip a wire without first confirming the power is off, gloves or no gloves. Keep pliers clean and free of rust, since a slipping tool is far more often a dirty or corroded one than a broken one.

🎯 Building the Set: What to Buy First

  • A single pair of slip-joint pliers covers most early projects and is the right first purchase for almost anyone.
  • Add linesman pliers the moment any electrical work enters the picture — the ability to cut and twist wire safely is worth having before it’s needed.
  • Add channel-locks once plumbing or larger fasteners show up in a project.

That three-tool combination covers the overwhelming majority of home DIY without needing a full wall of specialty pliers.

🛒 Gear Worth Having

IRWIN VISE-GRIP Slip-Joint Pliers — The right first pair for almost anyone — versatile enough to cover most early projects before anything more specialized is needed.

Klein Tools Linesman Pliers — A genuine wire-cutting edge machined into the jaws, worth owning the moment any electrical task enters a project.

CHANNELLOCK Straight Jaw Tongue-and-Groove Pliers — The wide-range grip that handles pipe and oversized fasteners a slip-joint pair was never built to reach around.

As an Amazon affiliate, I earn from qualifying purchases. Thank you for supporting SkippityWhistles.

📖 Related Reads


SkippityWhistles is part of the WhistleBump group – find the rest of the family at WhistleBump.com.

7021

©2026 John D Reinhart/Skippitywhistles.com — All rights reserved
How to Use Locking Pliers (Or: The Grip That Doesn’t Need Your Hand)

Master locking pliers for any DIY or repair project. Learn tips, tricks, and techniques to grip, clamp, and hold like a pro!

Ron latched a pair of locking pliers onto a rusted bolt, cranked the adjusting screw down as far as it would go, and squeezed. The bolt came loose. The pliers did not. He spent the next ten minutes hunting down a second pair of pliers just to pry the first pair back open.

Locking pliers, also called vise-grips, aren’t just strong pliers. They’re a completely different mechanism than the pliers in a kitchen drawer, and understanding that mechanism is what keeps you from ending up exactly where Ron did.

🔒 What Makes Them Different

Regular pliers only grip as hard as your hand squeezes. The moment you let go, the grip is gone.

Locking pliers use a small pivoting piece called a toggle that locks into a fixed position once pushed past its center point to hold the jaws clamped shut on their own. Once that toggle locks, the pliers keep gripping with zero effort from your hand. You could set them down on the workbench, mid-grip, and walk away.

That’s the entire trick. Everything else about using them well comes from understanding that one locking motion.

🧩 The Parts You’re Working With

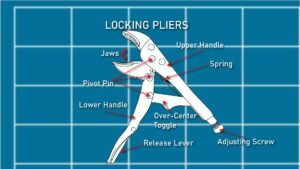
Technical line drawing of a pair of locking pliers with part callouts against a blueprint-style background by John D. Reinhart, created using the Three Point Line illustration method

The jaws do the actual gripping, and most have both a curved section for round objects like pipe, and a flat section for square-sided objects like a nut or bolt head.

The adjusting screw sits at the end of one handle. Turning it changes exactly how far the jaws close before the toggle locks — this is what lets the same pliers grip a thin wire and a thick pipe on different days.

The release lever sits opposite the handle as the adjusting screw. Squeezing it pops the toggle back out of its locked position and lets the jaws spring open.

🎚️ Adjusting the Grip

Start by closing the empty pliers around nothing, just to feel the motion. You’ll notice the handles resist near the end, then suddenly go slack as the toggle locks. That slack moment is the lock happening.

Turn the adjusting screw and watch the jaws. Turning it one way brings them closer together. Turning it the other way opens them up.

Set the gap roughly to the size of whatever you’re about to grip, then open the pliers back up.

Place the jaws around the object and squeeze gently.

If the pliers lock but the object still wobbles, open them back up and turn the adjusting screw one turn tighter. Try again.

If it feels like the pliers are about to crush or deform the object, open them up and turn the screw one turn looser.

You’re aiming for a grip that locks firmly without needing to muscle the handles closed and without threatening to damage what you’re holding.

🔓 Releasing Them

Squeeze the release lever, and the jaws spring open on their own.

If the pliers were adjusted too tight and now feel stuck, don’t fight them with your bare hands. Grab a second pair of pliers, ideally something with long handles, and use them to squeeze the release lever with real leverage instead.

🚫 The Two Mistakes That Cause Most Problems

Over-tightening locks the jaws down so hard the pliers become difficult to release, and it can permanently deform whatever’s being gripped — a real risk on anything soft enough to crush.

Under-tightening leaves the jaws loose enough to slip and scrape against the object instead of holding firm. On a nut or bolt, that slipping can round off the edges completely, turning a simple job into a much harder one.

The right setting sits between those two — firm enough to lock without a fight, loose enough to release without a struggle.

🛡️ Protecting What You’re Gripping

The jaws are hardened, serrated metal, which grips well but can mar soft surfaces — chrome finishes, painted metal, wood, and plastic are all vulnerable to those teeth. Laying a folded cloth or piece of leather between the jaws and a finished surface protects it without meaningfully weakening the grip.

🛒 Gear Worth Having

IRWIN VISE-GRIP 3-Piece Locking Pliers Set — Covers curved jaw, long nose, and clamp styles — three sizes genuinely cover nearly every job these tools get asked to do.

IRWIN VISE-GRIP 10-Inch Curved Jaw Locking Pliers — The single most useful size on its own, if you’d rather start with one pair before committing to a full set.

IRWIN VISE-GRIP Locking C-Clamp Pliers — Built specifically for clamping flat work while glue sets or a weld cools, doing a genuinely different job than the standard jaw shape.

As an Amazon affiliate, I earn from qualifying purchases. Thank you for supporting SkippityWhistles.

📖 Related Reads


SkippityWhistles is part of the WhistleBump group – find the rest of the family at WhistleBump.com.

7015

©2026 John D Reinhart/Skippitywhistles.com — All rights reserved