
Slip‑joint pliers are one of the most versatile tools you can own. They’re the classic “do‑everything” pliers that belong in every DIYer’s toolbox, especially for general gripping, bending, and light cutting tasks around the home. Even if you’ve never touched a pair before, by the end of this post you’ll know how to use them with confidence.
What Makes Slip‑Joint Pliers Special?
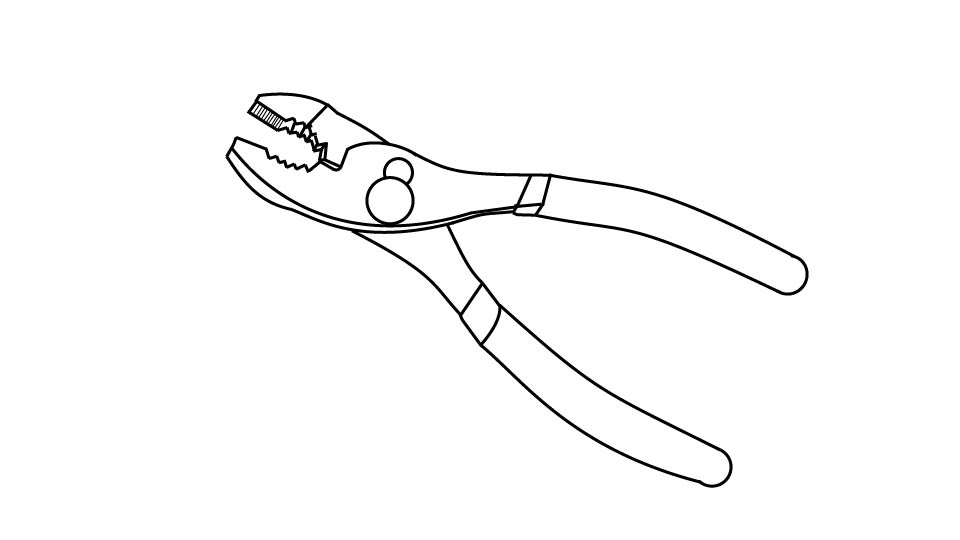
Slip‑joint pliers get their name from the adjustable pivot point that lets the jaws open wider or closer together depending on the size of what you’re gripping. That gives you flexibility you won’t find in fixed‑jaw pliers. They’re great for gripping, holding, bending, and even light cutting when needed.
Types & Sizes to Know
Before we talk how to use them, it helps to understand the basics:
- Most DIY slip‑joint pliers are 6–10 inches long, which gives a good balance of power and control.
- Some have straight jaws; others are angled slightly for better access in tight spots.
- Common configurations include a simple two‑position adjuster that changes the jaw width.
How to Adjust the Jaw Width
- Open the handles wide until the jaw pivot slips.
- Slide the pivot into the alternate position to widen or narrow the gap between the jaws.
- Test‑fit before gripping — the right jaw size gives the most control and least slippage.
Basic Tasks You Can Do With Slip‑Joint Pliers
Gripping & Holding
Slip‑joint pliers excel at holding objects steady while you work — whether it’s a loose nut, a bent nail, or a small piece of metal. Adjust the jaws to the right size and squeeze firm but not bone‑crushing hard.
Bending & Shaping
Use them to bend light gauge wire or reshape small metal parts. The serrated jaws give enough friction to hold shapes while you work without slipping.
Light Cutting (If Equipped)
Some slip‑joint pliers include a small cutting surface near the pivot. These are typically for light wires and soft metal — not heavy‑duty cutting tools. Always cut with the tool perpendicular to the material and wear safety glasses.
Safety Tips (Quick & Simple)
- Wear eye protection — especially when cutting or twisting wire.
- Grip with control, not force. If something won’t budge, use the right tool (like a wrench) instead.
- Don’t use them on live electrical circuits. Always disconnect power first.
A little caution goes a long way toward confidence.
Slip-Joint Limitations
While these pliers are a DIYer’s best friend, there are just a couple of things they don’t do well:
- Not for Production: they can work great to loosen a nut or turn a bolt, but they should not be your go-to for working with fasteners. Because they’re adjustable, they’re imprecise, and can slip, damaging the fastener. In extreme cases, they can round the fastener’s edges, making it unusable.
- Watch Your Finishes: those serrated edges do a great job of gripping just about anything. But the serration can lead to a damaged finish on the object you’re grabbing. Put a cloth between the pliers and the object if you’re worried about the finish.
Here’s a beginner-friendly pair of Slip-Joint pliers from Amazon.
(As an Amazon affiliate, I earn from qualifying purchases)
Final Thoughts
Slip‑joint pliers may look simple, but once you know how to adjust them and when to use them, they become one of the most useful tools in your kit. From gripping stubborn objects to helping shape wire, they’re a versatile everyday companion for DIYers of all skill levels.
Want to explore more tools like this? Head back to The DIYer’s Toolbox for guides on screwdrivers, hammers, and more.
Related Posts
DIY projects involve risk. Always follow manufacturer instructions and use appropriate safety precautions.
7022
