
If the idea of picking up a screwdriver makes your palms sweat, welcome — this guide is for you. The DIY world can feel overwhelming, but it doesn’t have to. Every project starts with understanding the right tools, knowing what they do, and learning how to use them safely.
Think of this as your gateway toolbox: everything you need to feel confident, without feeling intimidated.
Now, you don’t need to go out and spend $1,000 right away and buy every one of these tools. You’ll accumulate them over time, as you need them – as they make sense to you.
This guide tells you what they are, what they do, and why, when the time comes, you’ll need them.
Measuring & Marking Tools
Good projects start with accurate measurements. These tools are your first step toward success:
- Tape Measure: The most basic and essential tool.
- Pencil or Marker: For marking cut lines and placement points.
- Carpenter’s Square or T-Square: Helps ensure corners and cuts are straight.
Tip: Take your time marking carefully. A few extra seconds here can save hours of frustration later.
Cutting Tools
Cutting is simpler than it looks — as long as you have the right tool for the job:
- Handsaw: Great for wood and basic materials.
- Utility Knife: Perfect for scoring drywall, cardboard, or trimming materials.
- Scissors: Sometimes simple is best, especially for thin materials or tape.
Always cut away from your body and keep blades sharp for safety and precision.
Driving Tools
If your goal is to assemble or secure anything, these tools are your friends:
- Screwdrivers: Flathead, Phillips, and basic types are enough to start.
- Hammers: Useful for nails, anchors, or small demolition tasks.
- Power Drills: More than just drilling holes, you can use these to drive screws, too.
- Staple Guns: Quick fastening for fabric, insulation, and light materials.
Pro tip: Learn the right size screwdriver for the screw — it reduces slipping and frustration.
Holding & Clamping
Holding things steady makes work easier and safer:
- Clamps: Hold boards, panels, or pieces together while you work.
- Workbenches or Sawhorses: Provide a stable workspace.
- Vises: Optional but helpful for smaller, precision work.
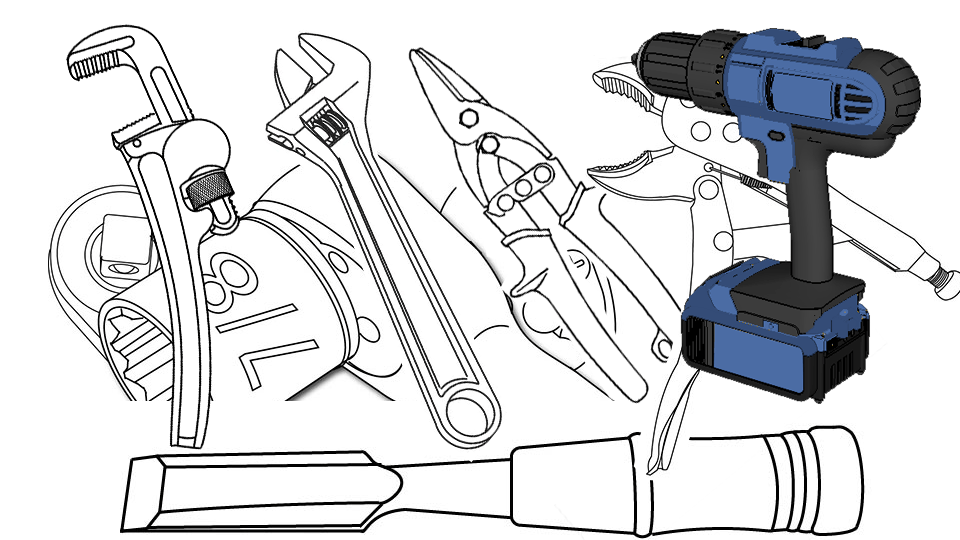
- Wrenches: The go-to tools for holding, tightening, and loosening fasteners like nuts, bolts, and threaded pipe
- Pliers: Handy for gripping, twisting, or bending small materials.
A secure piece is a safer piece — never underestimate this step.
Finishing Tools
Finishing tools make your projects look clean and professional:
- Sandpaper or Sanding Blocks: Smooth rough edges or surfaces.
- Files: Great for shaping wood or metal edges.
- Basic Brushes or Rollers: Useful for small finishing touches.
Tip: Take your time finishing — the difference between “ok” and “wow” often happens here.
Electrical / Testing Tools (DIY Safe)
Even beginners sometimes need to interact with household electricity. Keep it simple:
- Voltage Tester: Makes sure circuits are off before touching wires.
- Wire Strippers: Safe for cutting or stripping low-voltage wires.
Always err on the side of caution. If a project seems beyond comfort, it’s ok to call a professional.
Safety Gear
Safety isn’t optional — it’s the most important part of your toolbox:
- Gloves: Protect your hands from cuts and abrasions.
- Goggles or Safety Glasses: Essential when cutting or sanding.
- Dust Masks: Prevent inhaling fine particles from sanding, drywall, or insulation.
A little preparation goes a long way in preventing injuries.
Here are the details on what should be in your safety kit: How to DIY it Safely
Next Steps
Now that you know the basic tools, the fun begins. You can confidently explore:
- Working with Fasteners: How screws, nails, and bolts hold everything together.
- Working with Wood: Learn to cut, assemble, and finish projects.
- Working with Drywall: Repair, patch, and hang walls safely.
Remember: you don’t need every tool to get started. Master the basics first, build confidence, and your toolbox will grow naturally as your skills grow.
With the right tools in hand and a calm approach, even the most intimidating DIY projects suddenly feel approachable.
DIY projects involve risk. Always follow manufacturer instructions and use appropriate safety precautions.
7020
