
(Or: How to test electricity without getting a buzz)
When you go to shop for a voltmeter – you know, the thing that tells you if there’s electricity in the wall or a battery – you’ll most often end up with something called a digital multimeter, or DMM. They do the same job, but the DMM does it better and gives you more information.
The thing about electricity is that it’s invisible – like dating someone who thinks they’re always in a movie scene, it’s both its charm and its personality flaw.
If you’re going to do even basic DIY electrical work — replacing an outlet, installing a light fixture, troubleshooting why the garage door opener died during a snowstorm — you need one superpower:
The ability to know whether power is present.
That’s what a voltmeters and multimeters do. They meters volts – electrical power.
Today we’ll walk through:
- What a multimeter actually measures
- The difference between AC and DC voltage
- How to test outlets safely
- How to test batteries
- How not to fry your meter (or yourself)
- And which meter is worth buying for DIY use
Let’s go.
What Is a Voltmeter?
A voltmeter measures electrical potential difference — in normal-people language, it tells you:
“Is electricity here right now, and how strong is it?”
Most modern voltmeters are part of a multimeter, which can measure:
- Voltage (V)
- Resistance (Ω)
- Continuity
- Sometimes current (A)
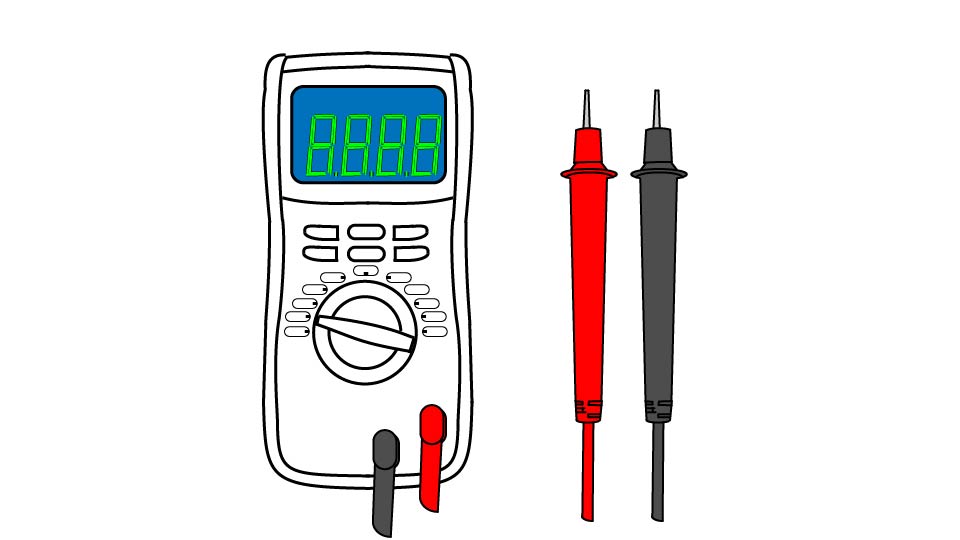
If you don’t own one yet, you’re looking for a digital multimeter (DMM), not an old-school analog needle model.
A solid, DIY-friendly example is the AstroAI Digital Multimeter — inexpensive, reliable, and perfectly capable for home use.
(You don’t need a $200 electrician’s meter unless you are, in fact, an electrician.)
(As an Amazon affiliate, I earn on qualifying purchases.)
AC vs. DC: The 30-Second Explanation
Before you touch the meter, you need to know what you’re measuring.
- AC (Alternating Current) → Your house outlets (typically ~120V in the U.S.)
- DC (Direct Current) → Batteries, car systems, solar panels
If you mix these settings up, your reading will either:
- Make no sense, or
- Be zero when it absolutely shouldn’t be
Always match the meter setting to the power source.
How to Use a Voltmeter to Test an Outlet (AC Voltage)
This is the most common DIY use.
Step 1: Set the Dial
Turn the dial to AC Voltage (V~).
If your meter requires selecting a range, choose:
- 200V range for standard U.S. 120V outlets
Many meters auto-range. If yours does, life is easy.
Step 2: Insert the Probes into the Multimeter Correctly
- Black probe → COM port
- Red probe → VΩ port
Never put the red lead into the “A” (amps) port unless you specifically intend to measure current. That is how fuses inside meters die young.
Step 3: Test the Outlet
Insert:
- Put the black probe into the neutral slot (the wider one)
- Put the red probe into the hot slot (the narrower one)
You should see approximately:
110–125 volts
If you see:
- 0V → breaker may be off
- ~60V → possible wiring issue
- Wildly fluctuating numbers → stop and reassess
If Sticking Things Into an Electrical Socket Flips You Out
You are not along – it’s something we’ve all been told not to do since we were little kids.
Electricians do it a dozen times a day. Here’s what they know:
- The probes you’re using are insulated.
- Your fingers stay behind guards on the probes.
- The meter has very high internal resistance (typically 10 megaohms). Even if a catastrophic amount of energy zooms out of the wall, the multimeter is fused to handle it. It won’t blow up, it will fail by disconnecting the electrical circuit.
- Your probes draw an almost microscopic amount of current.
- The Occupational Safety and Health Administration considers voltages under 50V generally low hazard under normal dry conditions.
- A properly used meter does not meaningfully increase shock risk compared to touching the un-insulated exterior of a lamp cord.
Take a look at our post How to Use a Voltage Tester for more details on non-contact voltage testing.
How to Use a Voltmeter to Test a Battery (DC Voltage)
Testing a AA battery? Car battery? Same principle.
Step 1: Set Dial to DC Voltage (V⎓)
Choose a range slightly above the expected voltage.
Examples:
- AA battery → 1.5V
- 9V battery → 9V
- Car battery → 12V
Step 2: Touch Probes to Terminals
- Red probe → Positive (+)
- Black probe → Negative (−)
A healthy car battery should read:
- Around 12.6V when fully charged
- Below 12V means it’s tired
Safety Rules (Read These, Hero)
- Never change dial settings while probes are live in an outlet. You can damage the meter.
- Never measure resistance on a live circuit. You can damage the meter.
- Always test the meter on a known live outlet first if you need to verify that the power is off. You need to make sure the meter works before you trust it.
- If you’re unsure — stop.
Electricity does not care about your confidence level.
Electrical issues can seem daunting. If they are, don’t go there. Call an electrician and make sure it’s done right.
Common Beginner Mistakes
❌ Measuring amps instead of volts
❌ Leaving the probe in the amps port
❌ Testing resistance on a live outlet
❌ Forgetting to switch from DC to AC
Every electrician has done at least one of these. The goal is to do them once.
Do You Need a Non-Contact Voltage Tester Too?
Yes.
A non-contact tester detects voltage without touching bare conductors. It’s a quick safety check before using your meter.
The Klein Tools NCVT-1 is a popular, durable option.
Think of it as your first line of defense.
The voltmeter is your diagnostic tool.
When a Voltmeter Saves the Day
- Confirming a breaker is actually off
- Diagnosing a dead outlet
- Testing extension cords
- Checking whether a light fixture is receiving power
- Troubleshooting appliance issues
It removes guesswork.
And DIY without guesswork is calmer DIY.
Final Thoughts: Power Is Knowledge
A voltmeter doesn’t fix anything.
It tells you the truth.
And in DIY electrical work, truth is everything.
If you’re building your toolbox, a digital multimeter belongs in the same tier as:
- A stud finder
- A quality drill
- A non-contact tester
Because once you can see electricity, you stop being afraid of it.
And that’s what a multimeter does.
Related Posts
DIY projects involve risk. Always follow manufacturer instructions and use appropriate safety precautions.
9012
