Ron once explained to his neighbor that you can tell if a wire is live by tapping it quickly with the back of your hand — something about how a quick tap won’t let your muscles clench around the wire the way a full grip would. His neighbor, wisely, did not try this. Ron didn’t either, for the record. He just liked saying it with authority.
That’s the thing about electricity: everybody’s got a method, a trick, a thing their uncle swore by. None of it replaces the two habits that actually keep you safe. This post is about those two habits — and about understanding what’s actually happening behind your outlets and switches so “be careful” turns into something you can act on.
🔌 What’s Actually Behind the Wall
Every outlet and switch in your house connects back to a junction box (the plastic or metal box inside your wall where wires are joined together and protected) and, eventually, to your breaker panel (the metal box — usually in a basement, garage, or utility closet — where your home’s electrical circuits split off from the main power line, each protected by its own breaker).
Each circuit runs on wire rated by gauge (a number describing wire thickness — the lower the number, the thicker the wire, and the more current it can safely carry). A 14-gauge wire is standard for a 15-amp lighting circuit; a 12-gauge wire steps up to a 20-amp circuit, like the one your kitchen outlets are probably on.
Using a wire rated for less current than the circuit calls for is how outlets get warm and, eventually, how houses catch fire. This is the one place in home DIY where “close enough” isn’t a category.
🧪 Live-Dead-Live: The Rule That Never Changes
Before you touch any wire, you test it. Every time. Even the fifth time. Even when you’re sure. Here’s the sequence, and it doesn’t change no matter how many times you’ve done this:
First, test your voltage tester (a tool that detects electrical current, either by touching a wire directly or, with a non-contact voltage tester, by sensing current from nearby) on a wire or outlet you know is live — a lamp that’s plugged in and on works fine. This confirms the tester itself is working. That’s the first “live.”
Second, flip off the breaker for the circuit you’re working on, then test the wire you actually intend to work on. It should read dead. That’s the “dead” — the reading that matters.
Third, go back and test the same known-live source from step one again. If it still reads live, your tester didn’t die mid-test and give you a false “dead” reading. That’s the second “live,” and it’s the step almost everyone skips — right before they needed it.
Live-dead-live. Three tests, in that order, every single time. It takes forty-five seconds and it is the entire difference between a DIY project and an emergency room visit.
🎨 Reading Wire Colors (Without Guessing)
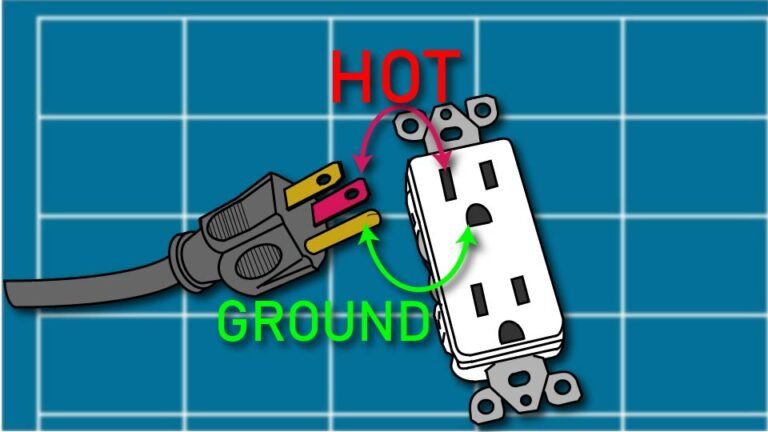
In standard US residential wiring, black or red wires are typically hot (the wire carrying current from the breaker panel toward whatever you’re powering), white wires are typically neutral (the wire that carries current back to the panel to complete the circuit), and bare copper or green wires are ground (the wire that gives electricity a safe path to the earth if something goes wrong, instead of through you).
“Typically” is doing real work in that sentence. Wire color is a strong convention, not a law of physics, and older homes or previous owners’ DIY work can break the pattern. Color tells you what to expect. Live-dead-live testing tells you what’s true. Trust the second one.
🔧 Wire Nuts and Connections Done Right
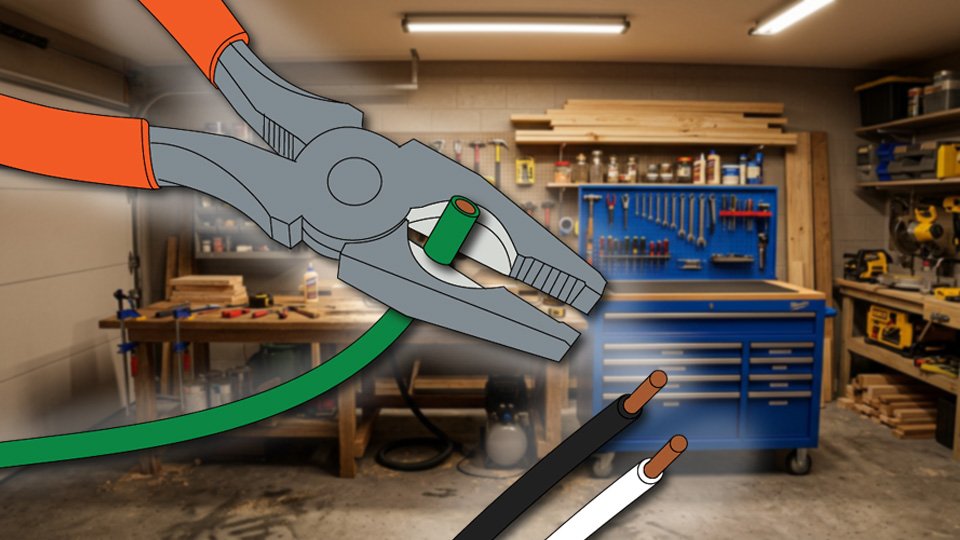
A wire nut (the small plastic cap that twists onto bare wire ends to join them and cap off the exposed metal) needs bare wire twisted together tightly enough that the nut grips and covers every strand — no copper visible once it’s on. If you can wiggle a wire nut off with light pressure, it’s not seated. Give it another twist.
Match wire nut size to the wire gauge and count you’re joining — too small and it won’t seat; too large and the connection can work loose over time. The color-coded sizing on the packaging isn’t decoration; it’s the manufacturer telling you which nut goes with which combination of wires.
🚫 When to Call an Electrician
Swapping an outlet, replacing a switch, adding a light fixture on an existing circuit — all reasonable weekend projects once you’ve got the live-dead-live habit. Anything involving your breaker panel itself, aluminum wiring, knob-and-tube wiring (an old wiring method, mostly phased out by the 1950s, that used ceramic knobs and tubes instead of modern insulation), or a circuit that keeps tripping for no obvious reason — that’s a phone call, not a project. There’s no shame in it. Ron’s dad called an electrician exactly once in thirty years, and it was for the panel. Everything else, Ron figured out with the right tools and enough patience.
🛒 Gear Worth Having
Klein Tools NCVT-3 Non-Contact Voltage Tester — Detects live current through the wire’s insulation without touching bare metal, and the two-point detection at the tip means you’re less likely to get a false reading. This is the tool that makes step one of live-dead-live actually reliable.
IDEAL 30-076 Wing-Nut Wire Connector Assortment — A mixed box covering the wire gauge and count combinations you’ll actually run into in a house this age, so you’re not mid-project realizing you have the wrong size nut for a three-wire joint.
Klein Tools 32717MAG Multi-Bit Insulated Screwdriver — Insulated to 1,000 volts, which matters less for the amperage in a home circuit and more because it’s one less thing to think about while your hands are near a junction box.
As an Amazon affiliate, I earn from qualifying purchases. Thank you for supporting SkippityWhistles.
📖 Related Reads
SkippityWhistles is part of the WhistleBump group – find the rest of the family at WhistleBump.com.
9010
©2026 John D Reinhart/Skippitywhistles.com — All rights reserved