
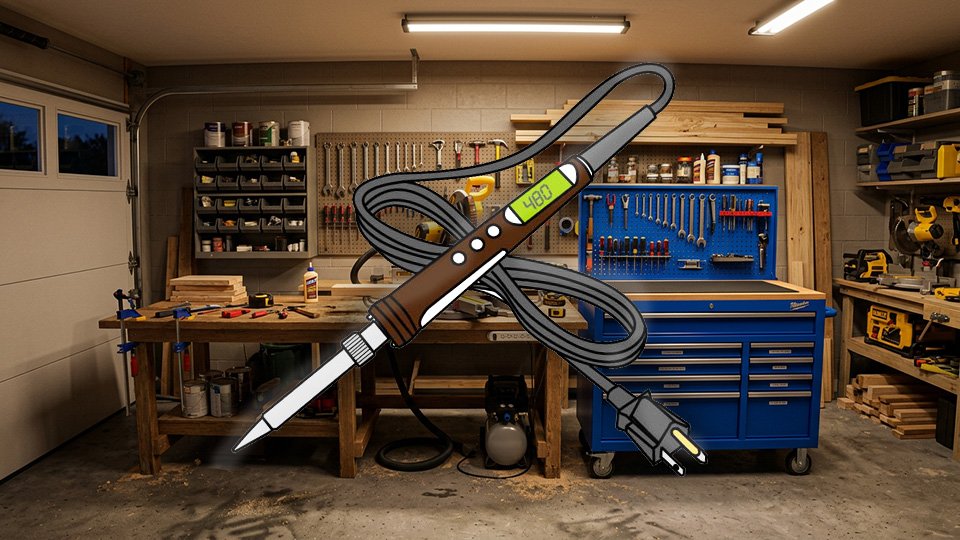
Ron’s first soldering attempt involved touching the iron directly to a blob of solder, watching it melt onto the wire, and calling it done. It seemed like to make sense – everything looked fine until the joint just popped apart two weeks later. It turns out you don’t just bulldoze your way through it, Ron. There’s a technique.
Ron’s one mix-up explains almost every bad solder joint ever made. Fix it, and soldering stops being intimidating and starts being genuinely straightforward.
🔥 The One Principle That Explains Everything
The iron’s job is to heat the joint — the actual metal being connected — not to melt the solder directly. Once the joint itself is hot enough, solder touched to it melts on contact and flows into the connection on its own, bonding to hot metal the way it’s supposed to.
Solder melted by the iron and then dropped onto cold metal never gets the chance to bond with anything. It just sits there, barely attached, waiting to come apart when something pulls on it. That’s called a “cold joint.”
🧰 What You’re Actually Holding
- The iron itself runs around 315 to 425°C (600 to 800°F) — easily hot enough to burn skin instantly, so respect it accordingly.
- Solder is a low-melting-point metal alloy that flows into a heated joint and hardens into the actual bond; 60/40 leaded solder flows more easily and forgives more mistakes.
- Lead-free solder needs slightly more heat but avoids the lead exposure.Either is fine to learn on, though many hobbyists start with leaded for the easier flow and simply wash their hands after.
- Flux is a chemical, that strips oxidation from the joint so solder can actually bond instead of beading up on top. Usually already built into the core of the solder wire, it solves more soldering problems than any other single factor — when a joint won’t cooperate, more flux is usually the fix before anything else.
🛠️ The Process, Start to Finish
- Let the iron fully heat up before starting — a cold or half-warm iron transfers heat poorly and all but guarantees a cold joint.
- Wipe the iron’s tip on a damp sponge to clean it, then touch it briefly to the solder to tin it (coat it with a thin layer), since a tinned tip transfers heat far better than a bare one.
- Make sure the workpiece is secure and stable.
- Take the iron into one hand, the spool of solder into the other.
- Touch the iron to the actual joint, holding for 2 to 3 seconds until the metal itself changes color slightly — that’s the joint reaching temperature, not a fixed timer to count down.
- Touch the solder to the heated joint, not to the iron; it should melt and flow into the connection almost immediately.
- Pull the solder away first, then the iron.
- Let the joint sit completely undisturbed for 10 to 20 seconds while it hardens — moving it during that window is how a good joint turns into a weak one.
🌋 Reading a Good Joint vs. a Bad One
A good joint is shiny, smooth, and shaped like a small, neat cone — that shine is the visual proof the solder actually bonded to hot metal. A dull, grainy, or lumpy joint is a cold joint, and no amount of it looking “close enough” changes that: It will fail under stress.
If a joint comes out dull, the fix isn’t more solder — it’s reheating the joint properly and trying again.
🧯 Safety Notes Worth Taking Seriously
- Work in a ventilated space — flux fumes aren’t something to breathe in over an extended session.
- Safety glasses guard against the occasional solder splash.
- A stand to rest the iron on between joints keeps a 700-degree tool from becoming an accident waiting to happen.
- Give a finished joint real time to cool before handling it; it holds heat longer than it looks like it does.
🛒 Gear Worth Having
Weller Digital Temperature-Controlled Soldering Station — Stable, adjustable heat instead of a fixed-temperature iron, which removes one entire variable from getting a joint right the first time.
Kester 60/40 Rosin Core Solder — Flows easily and forgives a shaky first attempt more than lead-free solder does — the right choice while you’re still building the feel for it.
Helping Hands Tool with Magnifier — Holds the work steady with alligator clips so both hands are free for the iron and the solder, instead of trying to grow a third one.
As an Amazon affiliate, I earn from qualifying purchases. Thank you for supporting SkippityWhistles.
📖 Related Reads
SkippityWhistles is part of the WhistleBump group – find the rest of the family at WhistleBump.com.
2015
©2026 John D Reinhart/Skippitywhistles.com — All rights reserved