
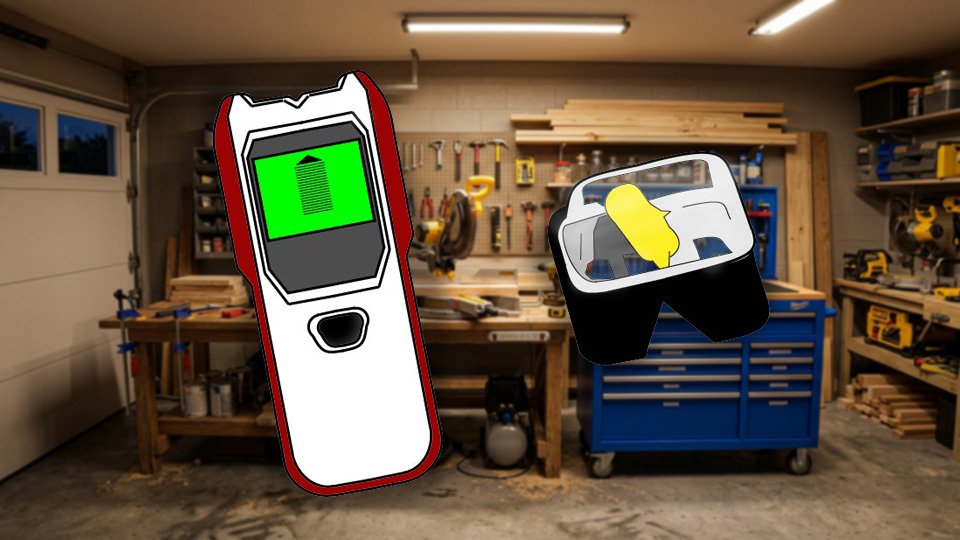
Ron once found a stud by knocking on the wall and listening for a change in pitch. This is a legitimate technique — if you are a woodpecker. Ron is not a woodpecker. The shelf he hung that day is now a shelf-shaped dent in the carpet.
Nobody starts out knowing where the studs are. The wall gives away nothing on purpose. But there’s a fifteen-dollar tool that ends the guessing forever, and once it’s part of the routine, drilling into drywall stops being a gamble and starts being a plan.
🧠 What’s Actually Behind Your Wall
Drywall is a covering, not a structure. Behind it, vertical framing boards called studs (the wood or metal supports that give a wall its strength) run floor to ceiling, usually spaced 16 inches apart. Anything with real weight — a TV, a floating shelf, a cabinet — needs to grab one of those studs, not just the drywall skin covering it.
A stud finder reads the wall for density. Hollow cavity feels different to the sensor than solid wood. Cross that boundary and the tool lights up, beeps, or both — translation: right here.
🧲 Magnetic or Electronic: Pick a Fighter
Magnetic stud finders don’t find studs directly — they find the metal fasteners holding the drywall to the stud. No batteries, nothing to calibrate, nearly impossible to break. Slower to use, and less exact about where the stud’s actual edges are.
Electronic stud finders sense the density change directly and usually mark both edges of the stud, not just a fastener. Faster, more precise, and worth the extra cost the moment anything heavier than a picture frame is going up.
📏 Finding the Stud, Step by Step
Magnetic Finders:
Place the finder flat against the wall. Slowly slide it horizontally across the wall. You’ll know when you’ve found fastener, and therefore a stud, when the finder latches onto it magnetically. Test your finding by moving the finder vertically up and down the wall, looking for other fasteners. They should all be pretty well lined up. There’s you stud.
Electronic Finders:
Step 1 — Start clean. Stud finders are calibrated for standard drywall. Plaster, tile, and concrete all confuse the reading, so expect a rougher result on older construction.
Step 2 — Calibrate the finder away from the target. Hold it flat against the wall in a spot that’s probably not over a stud, turn it on, and let it settle before moving. If you calibrate directly over a stud and the tool loses its baseline, and everything reads as a stud after that.
Step 3 — Glide the calibrated tool along the wall, don’t rush. Move the tool slowly and horizontally. The first signal marks one edge of the stud — pencil it in. Keep sliding until the signal drops off, and mark that edge too.
Step 4 — Split the difference. The center of the stud sits halfway between the two edge marks. That’s the spot to drill.
📐 The 16-Inch Rule
Studs in most homes are spaced 16 inches on center, occasionally 24. Find one, measure 16 inches over, and there’s a strong chance the next one is waiting right there. That shortcut turns a two-bracket shelf into a five-minute job instead of a twenty-minute one.
⚠️ Mistakes That Cost You a Wall Patch
- Skipping calibration of the electric finder and trusting the first beep anyway
- Sliding the tool too fast for it to get a clean read
- Calling it done after one pass instead of confirming with a second
- Drilling near an outlet without checking what’s running behind it
That last one matters more than it sounds like it should — wiring tends to run vertically up from outlets and switches, so anything drilled directly above one deserves extra caution.
⚡ Don’t Drill Into a Wire
Before any drill touches the wall: confirm the stud spacing looks normal, cut power to anything nearby, and sweep the area with a voltage tester (a small handheld tool that detects live electrical current without needing to touch a wire directly). Thirty seconds of caution beats an afternoon spent explaining what happened to the breaker panel.
🖼️ When a Stud Isn’t the Point
Light loads — picture frames, small mirrors, floating shelves under a few pounds — can usually ride on a drywall anchor (a small fastener that grips the drywall itself instead of the framing behind it) instead of a stud. Anything heavier gets a stud. No exceptions, no matter how confident the nail looks going in.
✅ Final Verdict
A stud finder doesn’t turn anyone into a carpenter. It turns guessing into knowing, and that’s the whole difference between a shelf that holds and a shelf-shaped dent in the carpet.
🛒 Gear Worth Having
CH Hanson Magnetic Stud Finder — a straightforward magnetic finder for anyone who just needs a yes-or-no answer without spending real money on the question.
Zircon StudSensor Electronic Stud Finder —an electronic finder that marks both edges of the stud and handles the calibration cleanly — the sweet spot for most household projects, from shelving to TV mounts.
Franklin Sensors ProSensor Multi-Sensor Stud Finder — a multi-sensor unit that scans a wider strip of wall at once and reads through thicker material, including some plaster walls that give cheaper units trouble. Overkill for a single picture frame, exactly right for anyone doing this often enough that speed and accuracy start to matter.
As an Amazon affiliate, I earn from qualifying purchases. Thank you for supporting SkippityWhistles.
📖 Related Reads
- Working with Electricity: The Basics
- How to Use a Voltage Tester
- Drill Bit Sets: What You Actually Need
SkippityWhistles is part of the WhistleBump group – find the rest of the family at WhistleBump.com.
2014
©2026 John D Reinhart/Skippitywhistles.com — All rights reserved