Understanding Drywall: What’s Actually Behind That Smooth Wall

Every interior wall in your house is the same three ingredients — here’s what’s actually behind that smooth surface, and why it cracks the way it does.

Ron owns a house full of drywall and has never once thought about what it actually is — right up until he put a doorknob straight through a bedroom wall and discovered the answer was “surprisingly little.” A wall that looks like solid plaster turned out to be a thin panel with a chalky white interior, and Ron’s working theory about walls being basically indestructible took a real hit that afternoon.

Drywall is the material behind almost every interior wall and ceiling in a modern home, and understanding what it actually is explains both why it’s so easy to damage and why it’s just as easy to bring back.

🪨 What’s Actually Inside the Panel

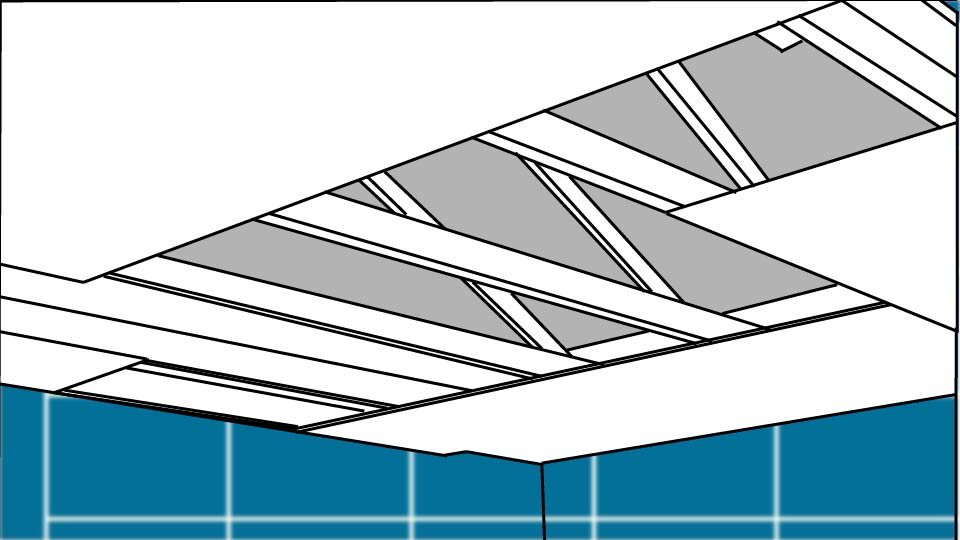
Drywall is gypsum (a soft, naturally occurring mineral that’s fire-resistant and easy to shape) pressed into a solid core and sandwiched between two layers of thick paper that hold it together and give the surface something smooth to finish. That’s the entire material — no wood, no plaster in the traditional sense, nothing structural on its own. It’s a skin, not a skeleton; the actual framing behind it is what the house depends on for strength.

Panels come in a few standard thicknesses for a reason: 1/2 inch is the standard for most interior walls, 5/8 inch shows up on ceilings and shared walls because the extra mass improves fire resistance and sound dampening, and 1/4 inch exists specifically as a thin overlay for resurfacing over existing damaged drywall rather than tearing it out.

💥 Why It Damages So Easily — and Why That’s Not a Flaw

A doorknob, a moving box corner, or a shelf bracket punches through drywall easily because the gypsum core has no give and the paper facing tears cleanly once the core cracks. That’s actually the tradeoff that makes drywall the standard material it is — a more impact-resistant wall material would also be heavier, harder to cut, and far more expensive to install across an entire house. Drywall trades some durability for being fast to install, inexpensive, and, just as importantly, fast and inexpensive to repair when something inevitably goes through it.

📌 Nail Pops: The Damage That Isn’t Really Damage

A nail pop (a small raised bump or crack where a fastener has worked its way slightly loose from the framing behind the drywall) isn’t the drywall failing — it’s the house settling, wood framing shrinking slightly as it dries over the seasons, and the fastener no longer sitting flush. It shows up as a small bump or hairline crack, usually in a fairly straight line along a stud. It looks alarming the first time you notice it and is almost always cosmetic rather than structural.

🩹 Seams, Tape, and Why Some Walls Are Invisible

Every seam between two sheets of drywall gets covered with joint compound (a plaster-like paste used to fill and smooth seams, dents, and screw holes) and drywall tape (a reinforcing strip — either paper or fiberglass mesh — embedded in the compound to keep the seam from cracking). A wall where you genuinely cannot find the seams is the result of feathering the compound out wide and thin over several coats, not a different material or some hidden trick. Fiberglass mesh tape is more forgiving for small patch jobs; paper tape is what most professional new-construction seams use because it resists cracking slightly better over the long run.

🤔 Patch, Repair, or Call Someone

Small holes, hairline cracks, and nail pops are genuinely reasonable to handle yourself — the material and process for that specific job are covered step by step in the dedicated patching post below, since that’s a hands-on task worth walking through properly rather than summarizing here. Larger jobs change the calculation fast: hanging full new sheets, water-damaged drywall that’s gone soft or moldy, or repairs near electrical boxes all bring in enough complexity, weight, or risk that a contractor’s quote is worth getting before committing a weekend to it. The material itself is forgiving. The scale and safety of the job is what should decide who’s holding the taping knife.

🛒 Gear Worth Having

3M Patch Plus Primer Self-Adhesive Drywall Patch — A metal mesh patch with primer built in, sized for the small-to-medium holes that make up most household drywall damage — no separate backing or tape needed.

USG Sheetrock Pre-Mixed All-Purpose Joint Compound — Ready to use straight from the bucket, which matters most on a first attempt when mixing your own powder compound is one more variable than you need.

3M Drywall Sanding Sponge, Fine/Medium Grit — Contours to the patch better than flat sandpaper, and the dual-grit sides mean one sponge handles both the rough smoothing and the final pass.

As an Amazon affiliate, I earn from qualifying purchases. Thank you for supporting SkippityWhistles.

📖 Related Reads

SkippityWhistles is part of the John D Reinhart content family. Writer, illustrator, videographer, and accidental filmmaker — find the whole story at JohnDReinhart.com.

2002

©2026 John D Reinhartskippitywhistles.com/ — All rights reserved
How to Choose the Right Fastener (Or: Not Every Screw Wants the Same Job)

Wood, drywall, concrete, and metal all need a different fastener — here’s how to know which one before you’re holding the wrong screw.

Ron keeps a coffee can of assorted screws on the workbench and, historically, has grabbed from it the same way he’d grab a snack — whatever’s closest, whatever looks about the right size. This worked fine right up until the deck board he was fastening split down the middle, because the screw closest to the top of the can was meant for drywall, not for anything outdoors, and definitely not for anything under load.

A fastener isn’t one decision. It’s three or four smaller decisions stacked together — material, load, drive type, length — and getting even one of them wrong is how a five-minute job turns into a return trip to the hardware store.

🪵 Start With What You’re Fastening Into

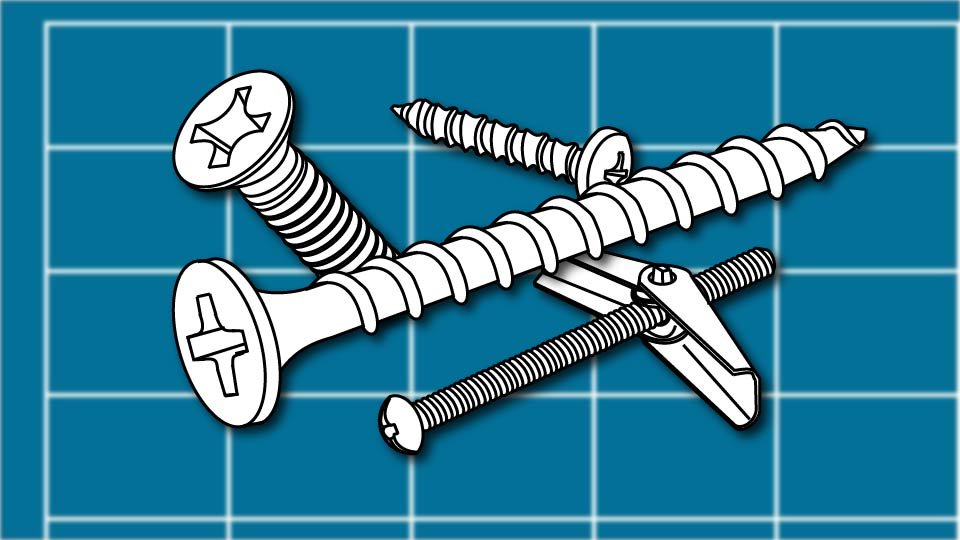
Wood generally wants wood screws — deep, widely spaced threads designed to bite into a soft, fibrous material. Drywall wants drywall screws, which have a sharper point and finer thread built for a thin, brittle material that doesn’t take a wood screw’s aggressive thread well. Concrete and masonry need a fastener rated for masonry, usually installed into a pre-drilled hole with a matching anchor, since nothing simply threads directly into cured concrete. Metal-to-metal work needs self-tapping screws (screws with a sharp point and thread specifically designed to cut their own threads into metal as they’re driven, rather than needing a pre-cut thread already in place).

Mismatching this first decision is the single most common fastener failure — not weak material, not the wrong tool, just the wrong screw for what’s actually on the other side of it.

⚖️ Load Changes Everything

A picture frame and a deck railing are not the same fastening problem, even if the screw in the hardware bin looks identical for both. Anything load-bearing or structural — railings, shelving holding real weight, framing connections — calls for a fastener rated for that use, often a structural screw or a bolt with a nut rather than a general-purpose wood screw. Cosmetic or light-duty fastening, like hanging a picture or securing trim, has much more forgiving requirements. When in doubt about how much weight or stress a connection needs to hold, sizing up in both fastener strength and quantity costs very little and fails far less often than guessing light.

🔧 Drive Type Is Not Just Preference

The drive type (the shape of the recess in a screw head that a driver bit fits into — Phillips, Torx, square, slotted) determines how well a driver bit grips under pressure. Phillips heads are the most common but the driver can slip out (“cam out”) under high torque. Torx and square drive resist cam-out much better, which is why more structural and outdoor screws have moved toward those drive types. If a project involves driving a lot of screws or driving into dense material, a Torx or square-drive screw will save real frustration over a Phillips equivalent.

📏 Gauge, Length, and the Pilot Hole Question

Gauge (a number describing a screw’s shaft diameter — higher gauge numbers mean a thicker screw) needs to match the job’s demands: thin trim work uses a lower gauge, structural framing uses a higher one. Length should generally let the screw penetrate at least half its length into the base material beneath whatever’s being fastened, not just through the top piece. A pilot hole (a small hole drilled before driving a screw, sized slightly smaller than the screw itself) prevents splitting in hardwood or near the edge of a board, and is close to mandatory for anything going into hardwood or near a board’s edge — skipping it is how Ron split that deck board in the first place.

🌦️ Indoors vs. Outdoors: Coating Matters

A screw with no corrosion-resistant coating will rust within a season outdoors, and rusted fasteners weaken and stain everything around them. Exterior work needs coated or stainless fasteners rated for outdoor or treated-lumber use specifically — treated lumber’s chemical preservatives corrode standard screw coatings faster than plain weather exposure alone. If a project is going outside or into treated wood, checking the box for an exterior or treated-lumber rating is a five-second step that prevents a much bigger problem eighteen months from now.

📖 When the Fastener Itself Is the Whole Project

Some fastening situations are specific enough to deserve their own deeper dive rather than a paragraph here — hanging something heavy on drywall with no stud behind it, working with actual nuts and bolts and their sizing conventions, or driving anything into cured concrete each have their own decision points worth walking through properly. Those are covered in full in the Related Reads below.

🛒 Gear Worth Having

Wensilon Multi-Material Screw Assortment Kit — Covers wood, deck, and general construction screws with a T-Star drive that resists cam-out, in a size range wide enough to replace most of the mismatched coffee-can situation at once.

DEWALT Titanium Drill and Drive Bit Set — Pairs pilot-hole drill bits with matching driver bits in one case, which solves the actual problem of never having the right pilot bit on hand when the screw calls for one.

Divanc Stainless Steel Exterior Screw Assortment — Rated for treated lumber and outdoor exposure, so the deck or fence project doesn’t come back to haunt you with rust streaks two summers from now.

As an Amazon affiliate, I earn from qualifying purchases. Thank you for supporting SkippityWhistles.

📖 Related Reads

SkippityWhistles is part of the John D Reinhart content family. Writer, illustrator, videographer, and accidental filmmaker — find the whole story at JohnDReinhart.com.

2001

©2026 John D Reinhartskippitywhistles.com/ — All rights reserved
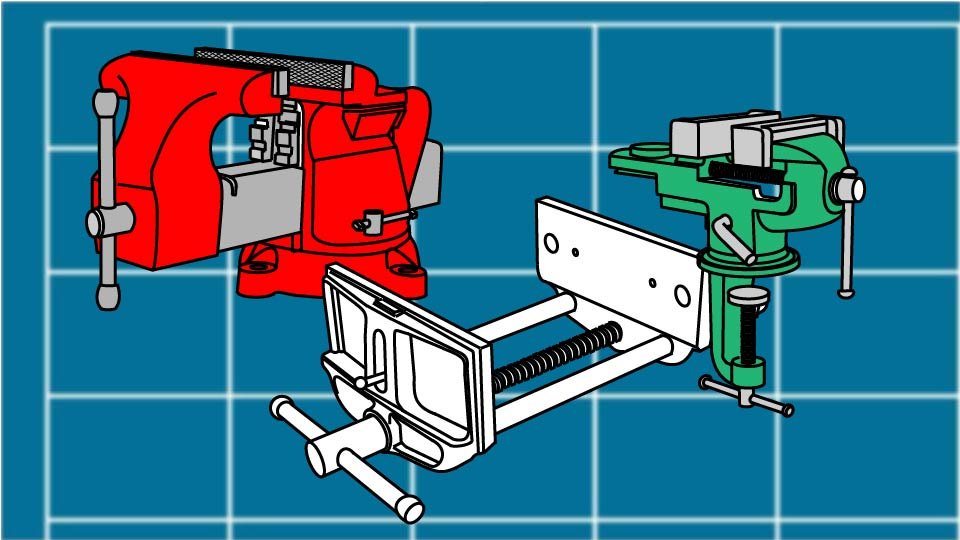
How to Choose the Right Vise (Or: The Third Hand That Never Gets Tired)

A vise doesn’t cut, drill, or fasten anything — it just holds still. That single job might be the most underrated tool in the shop.

Ron tried to file down a metal bracket while holding it steady with his other hand, which worked right up until the file caught and the bracket twisted sideways, taking a decent chunk of Ron’s patience with it. He didn’t need a stronger grip. He needed a tool that grips permanently, doesn’t get tired, and never once complains about being asked to hold something for twenty straight minutes.

A vise doesn’t cut, drill, or fasten anything. It just holds work perfectly still, and that one unglamorous job might be the single most underrated upgrade a home workspace can get.

🗜️ Bench Vise: The All-Purpose Workhorse

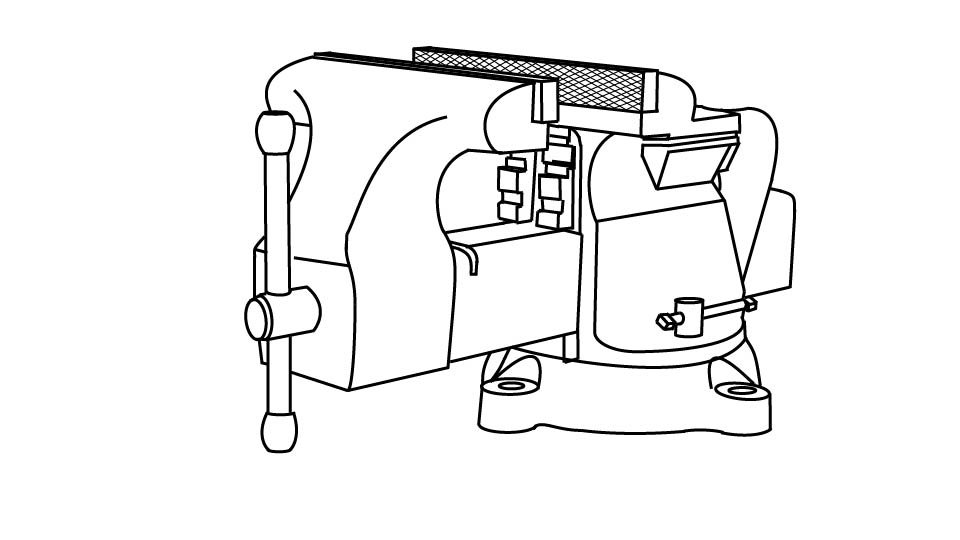
A three-point line illustration of a bench vise

A bench vise mounts semi-permanently to a workbench and handles general DIY and light metalworking — filing, sawing, drilling, holding wood or metal firmly in place. Look for cast or forged steel construction, replaceable jaw inserts, and ideally a swivel base for repositioning without unclamping. If a shop only ever owns one vise, this is correctly the one.

🪵 Woodworking Vise: Grip Without the Damage

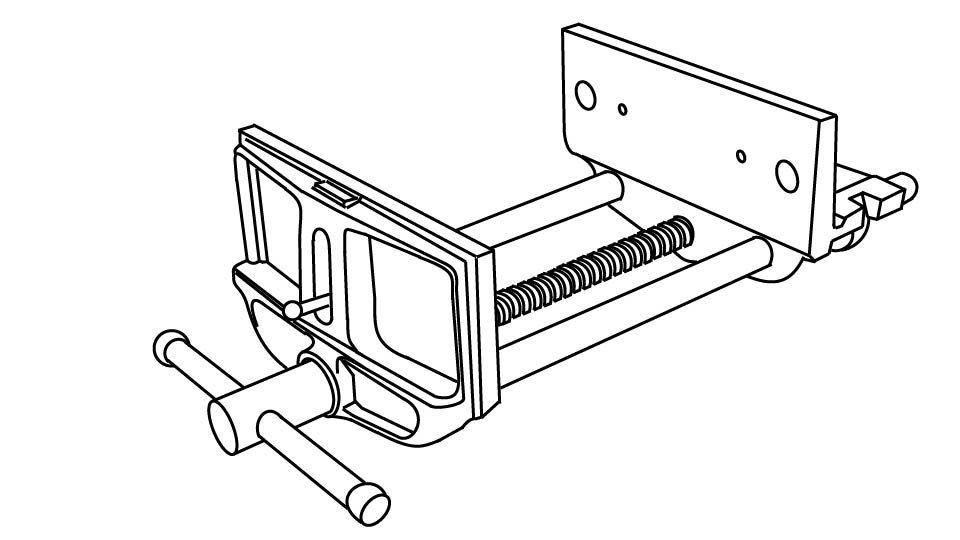
A three-point line illustration of a woodworking vice

Built specifically to hold wood firmly without marring the surface, using wider jaws and smoother faces than a general bench vise. Right for planing, sanding, joinery, and holding boards flat or on edge for furniture and trim work. Many woodworkers add wooden jaw liners on top, for surfaces delicate enough that even a smooth metal jaw might feel too aggressive.

📦 Portable and Clamp-On Vises: Small Space Solutions

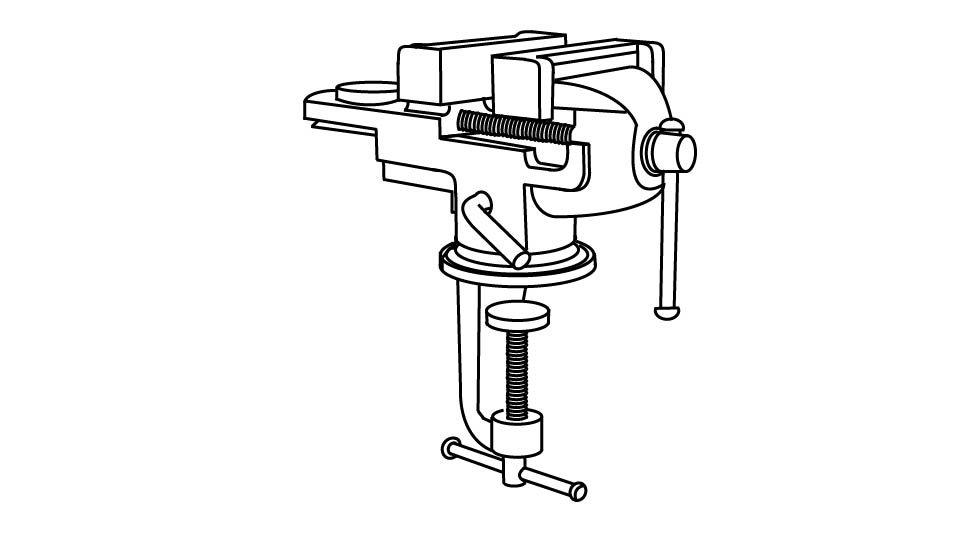
A three-point line illustration of a portable vise.

For anyone without a dedicated workbench, a portable or clamp-on vise attaches temporarily to a table edge and stores away when the project’s done. Not as rigid as a permanent bench vise, but genuinely far better than improvising with a person’s own two hands and a lot of optimism.

🔬 Specialty Vises Worth Knowing About

  • A drill press vise holds work steady for precision drilling.
  • A machinist vise is built for real metalworking accuracy.
  • A small hobbyist vise, often on an articulating arm, handles electronics and tiny parts a full-size vise would crush.

None of these are a first purchase — just useful to recognize the moment a specific project actually calls for one.

📏 Key Factors When Choosing

  • Jaw width and opening determine what fits — wider jaws spread pressure evenly, and a larger opening handles thicker material, though bigger isn’t automatically better if it doesn’t match the actual projects being done.
  • Mounting style trades off stability against flexibility: permanent mounting is maximum stability, clamp-on is portability, and a vise that shifts under pressure isn’t just useless, it’s a real safety risk.
  • Build quality should feel boringly solid — any flex in the casting or slop in the screw is a genuine red flag, not a quirk to work around because of the price.
  • Replaceable jaws matter too: hard jaws suit metal, soft jaws protect wood and finished surfaces, and inserts let one vise do both jobs.

🛡️ Safety Basics

  • Don’t overtighten — crushing the workpiece helps nobody and can ruin the very thing being held.
  • Keep fingers well clear while tightening.
  • Never use a vise as an improvised anvil unless it has an actual anvil surface built in, and even then, respect what the bench underneath can actually take.
  • Secure the vise itself firmly before applying any real force to whatever’s clamped in it.

⚖️ Vise vs. Clamps: When Each One Wins

A vise wins when work stays in one fixed place, needs repeatable accuracy, and involves hand or power tools working right up against it.

Clamps win for large panels, irregular shapes, and quick temporary positioning where a fixed vise’s reach or shape doesn’t fit the job.

Most well-equipped shops end up using both, for exactly the reasons above.

🛒 Gear Worth Having

Yost 5-Inch Bench Vise with Swivel Base — Solid, repositionable, and correctly sized for most general DIY and light metalworking — the right first vise for almost any shop.

Woodworking Bench Vise with Wood Handle — Wide, smooth jaws built specifically to hold a board firmly without leaving a mark on it.

Portable Clamp-On Vise — Genuine holding power for anyone working without a dedicated bench, and it stores away completely when the project’s done.

As an Amazon affiliate, I earn from qualifying purchases. Thank you for supporting SkippityWhistles.

📖 Related Reads


SkippityWhistles is part of the John D Reinhart content family. Writer, illustrator, videographer, and accidental filmmaker — find the whole story at JohnDReinhart.com.

7047

©2026 John D Reinhartskippitywhistles.com/ — All rights reserved
What Are Spanners? A Guide to Open-End, Box-End, and Combination Wrenches

Open-end, box-end, or combination — three fixed wrenches, three different grip strengths, and one honest reason rounded bolts happen.

Ron kept reaching for the open-end wrench on a rusted, stubborn bolt, and it kept slipping half a turn before losing its grip entirely. Three slips later, the bolt’s corners were noticeably rounder than they’d started, and the box-end wrench sitting one slot over in the toolbox had been the correct answer the entire time. Ron wasn’t using the wrong wrench family. He was using the wrong wrench. Nice going, Ron.

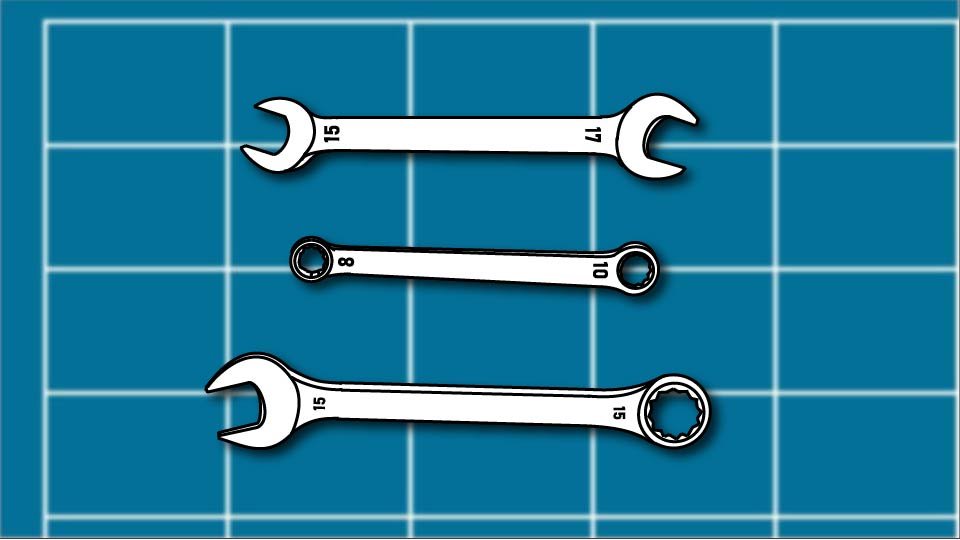
In much of the world, what Americans call wrenches are called spanners — same tool, different word. Open-end, box-end, and combination wrenches are the fixed-size backbone of nearly every basic toolbox, and each one grips a fastener differently enough that picking the wrong one is exactly how Ron’s bolt ended up the way it did.

👐 Open-End Wrenches: Fast Access, Less Grip

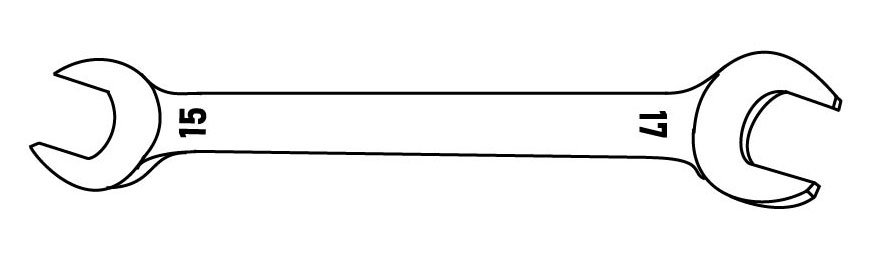
Three-point line illustration of an open-end wrench.

An open-end wrench has U-shaped jaws that slide onto a fastener from the side, which makes it quick to position and genuinely useful in tight spots where a wrench can’t be lifted straight up and off. The tradeoff: it only grips two sides of the fastener, which means it’s far more likely to slip on something very tight, not fully seated, or slightly the wrong size. This is exactly where rounded bolts and bad language get their start. Best suited to light-to-moderate torque and quick spinning once something’s already been broken loose.

📦 Box-End Wrenches: Maximum Grip and Control

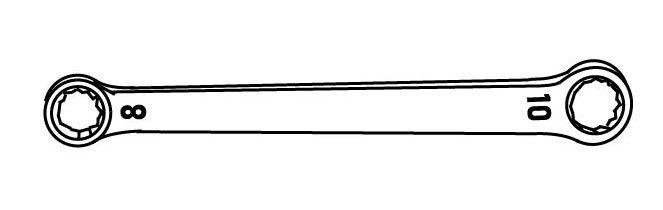
A three-point line illustration of a box-end wrench

A box-end wrench fully surrounds the fastener, usually with a 6-point or 12-point opening, which grips every side and dramatically cuts down on slipping and rounding. A 6-point opening gives the strongest possible grip, the right call for tight or rusted fasteners exactly like the one Ron was fighting. A 12-point opening is easier to reposition in a cramped space, at a slight cost to raw grip strength. Slower to seat than an open-end wrench, but the correct choice the moment a fastener is stubborn, valuable, or one you only get one real shot at loosening.

🤝 Combination Wrenches: The Best of Both

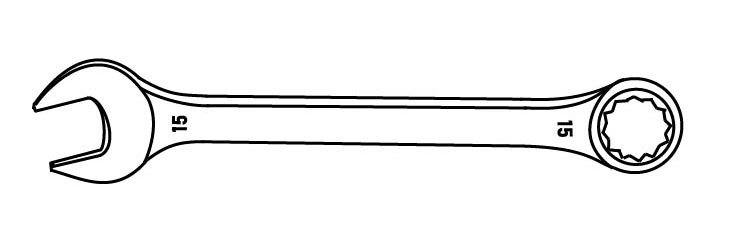
A three-point line illustration of a combination wrench

A combination wrench pairs an open-end on one side with a box-end of the same size on the other — open-end for speed, box-end for torque and precision, both in one tool. For most DIYers, a combination wrench set is genuinely the smartest starting point: versatile, intuitive, and it quietly teaches the habit of reaching for the box-end side the moment something fights back.

📏 SAE vs. Metric: Yes, You Need Both

SAE, or inch-based sizing, still shows up on older American equipment and vehicles. Metric is the standard on most modern tools, furniture, and vehicles built today. If today’s the day to build a basic set from scratch, metric sees more everyday use — but owning both eventually saves a specific kind of frustration: discovering the one wrench that fits isn’t in the box.

🎯 When to Reach for a Spanner Instead

Spanners earn their keep when precision and control matter more than speed, when there’s room to fully seat the wrench on the fastener, and when slipping simply isn’t an option. They’re often the better call over an adjustable wrench, and sometimes even over a socket, in shallow or awkward spaces where a socket’s depth just doesn’t fit.

🛒 Gear Worth Having

WORKPRO 32-Piece Combination Wrench Set (SAE and Metric) — Covers both measurement systems in one set, which solves the exact problem of discovering the one size you need isn’t in the box.

TEKTON 6-Point Box-End Wrench Set — Maximum grip for the stubborn, rusted fasteners an open-end wrench keeps slipping off of — exactly what Ron needed from the start.

Magnetic Wrench Organizer Rack — Keeps every size sorted and visible, so finding the right wrench doesn’t turn into its own separate project.

As an Amazon affiliate, I earn from qualifying purchases. Thank you for supporting SkippityWhistles.

📖 Related Reads


SkippityWhistles is part of the John D Reinhart content family. Writer, illustrator, videographer, and accidental filmmaker — find the whole story at JohnDReinhart.com.

7048

©2026 John D Reinhartskippitywhistles.com/ — All rights reserved